
File input cloud storage extension Agreement Manager test
This procedure explains how to set up and execute a functional test that invokes a file input cloud storage extension from Docusign Agreement Manager.
Make sure that you’ve completed all the requirements listed for functional tests in Test prerequisites.
-
Log in to the eSignature web application.
-
Select Agreements from the top navigation.
-
Select Completed from the left navigation. The Agreement List Table is displayed.
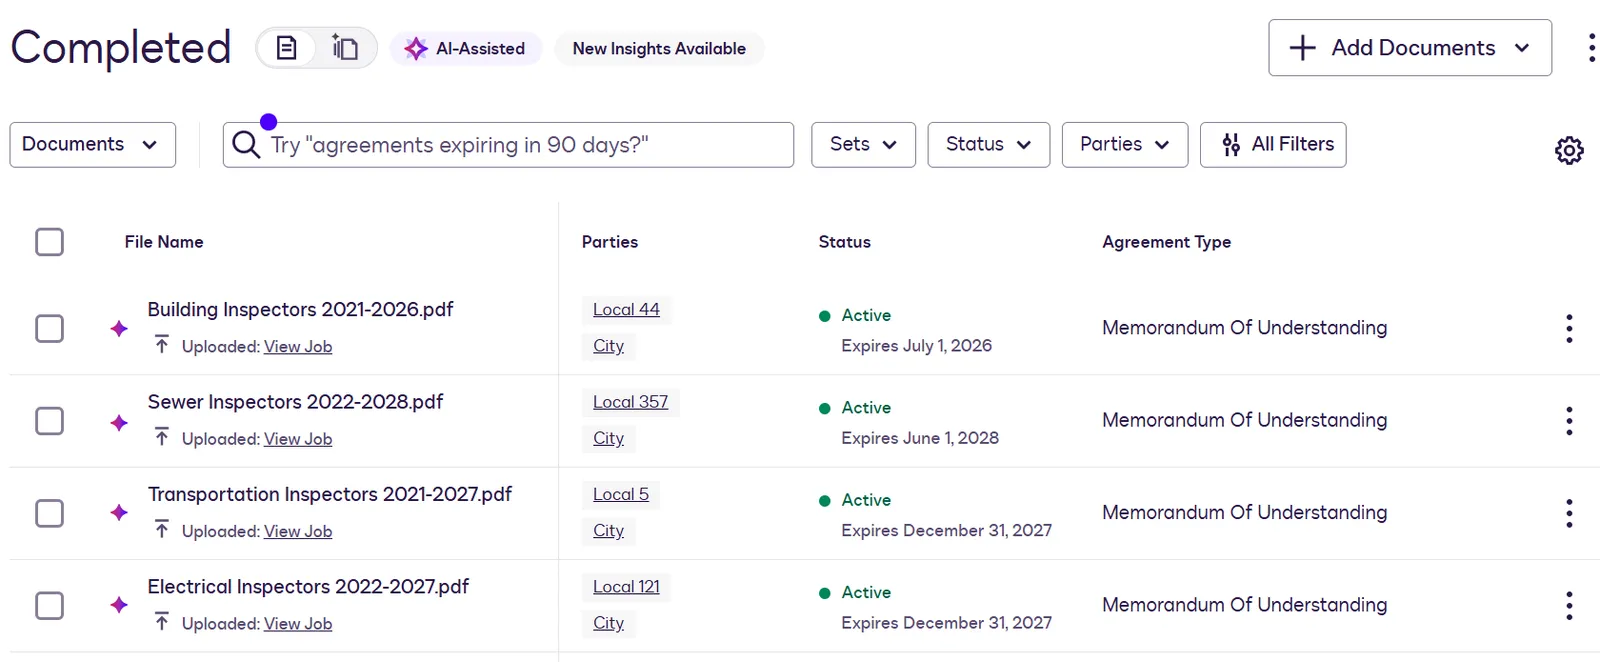
-
Select Add Documents and then Upload.
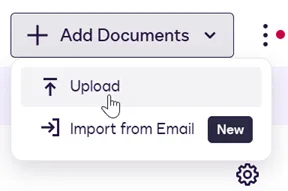
If The Add Documents option does not appear, your user permissions may need to be updated. See User and Group Management for details.
-
On the Upload Documents window, select Select File, and select your extension app from the list. Your app’s listing uses the value of the extensions.name property in the app manifest.
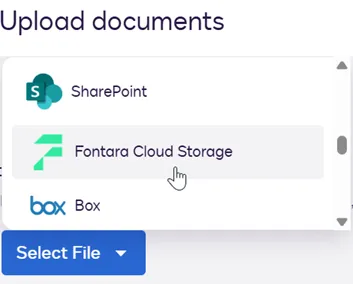
If the extension app is not installed and connected to your account, it will not appear in the list.
-
Select a connection.
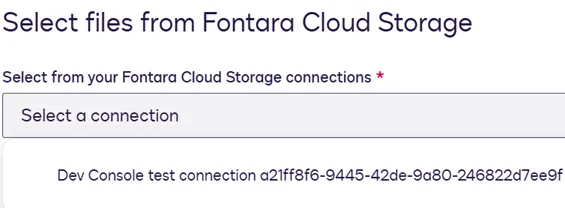
-
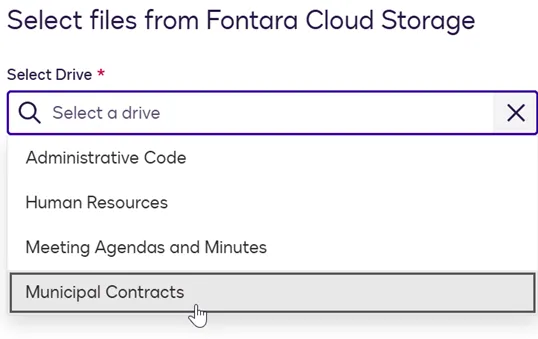
If the extension app implements the optional List Drives capability, Docusign launches a request to retrieve a list of cloud storage drives or similar container types, and displays the list on the Select Files window. Make a selection from the list.
-
After selection of a drive, or after selection of your extension app if List Drives is not implemented, Docusign launches a List Directory Contents request. The list of folders and files in the response is displayed on the Select Files window.
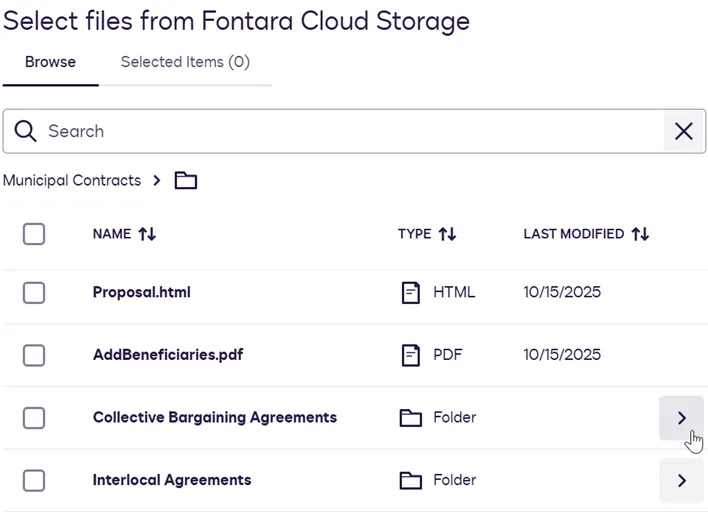
You can select a folder to display its contents. This launches another List Directory Contents request.
-
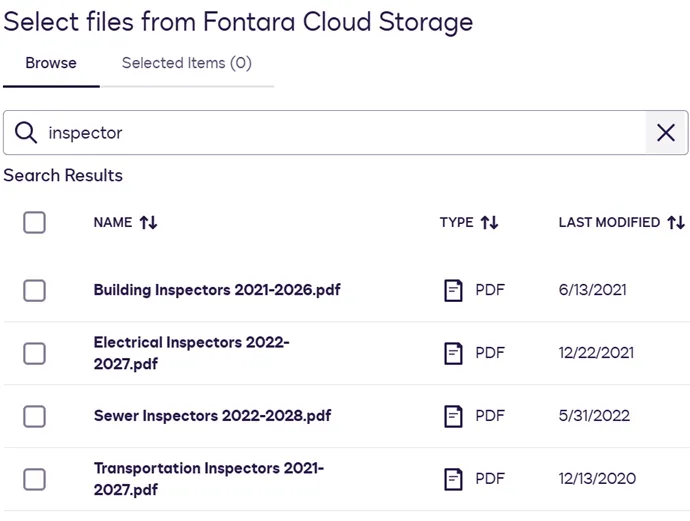
To test the Search action, enter a string in the Search field. The Select Files window displays the list of matching files and folders returned in the response.
-
To test the Get File action, select one or more files, and select Submit. Docusign sends a separate Get File request for each selected file.
-
To check the status of the upload, from the Agreement List Table, select Monitor All Jobs from the kebab menu.
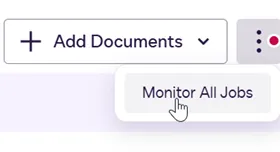
The status of the upload job is: Transferring on successful processing of the initial Get File request and response. Upload to Agreement Manager complete after successful processing of the callback request and response.
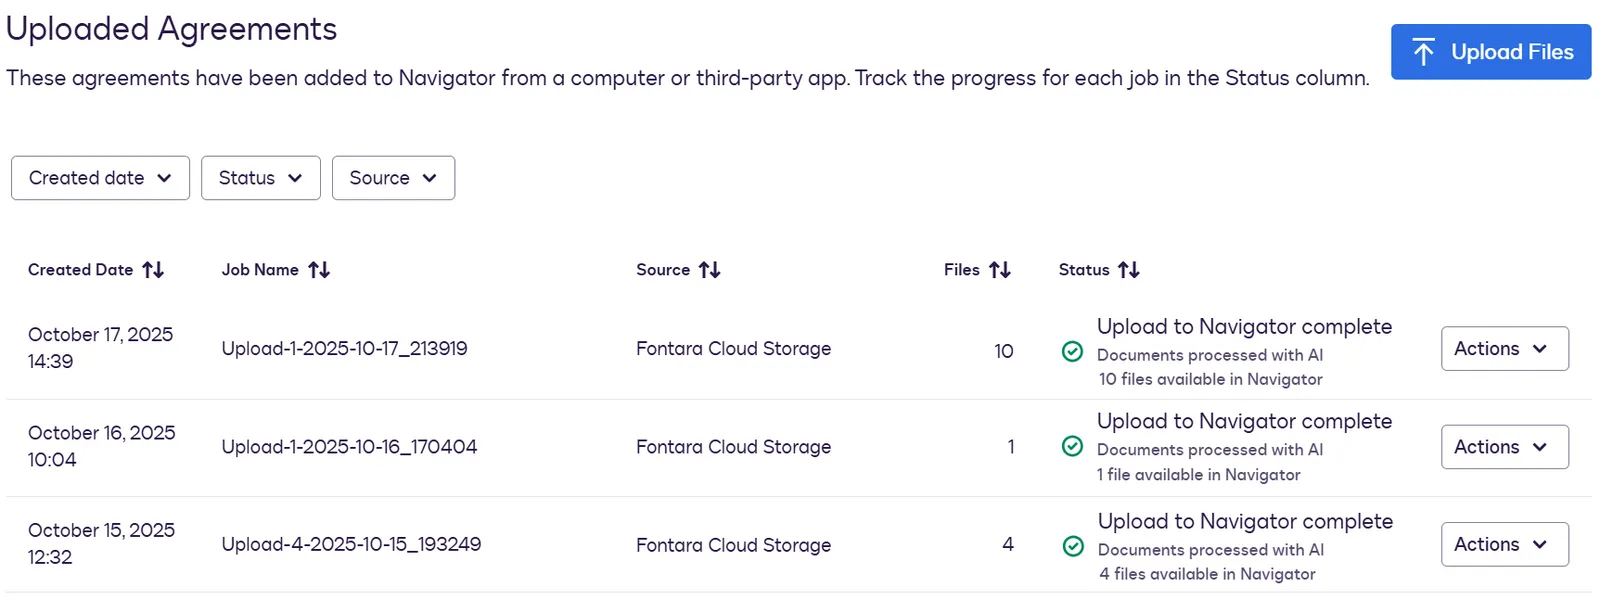
After the upload is complete, the files appear in the Agreement List Table, and AI processing begins. AI processing time varies. See Processing Agreements for details.
-
Select a file name in the Agreement List Table to view the Agreement Preview Page, which displays the file and AI-extracted agreement data.
If your extension is not invoked successfully, run the Developer Console connection and extension tests for the extension app to get detailed error messages and troubleshoot.
Next steps
- Find out more about functional tests.
- Learn how to run integration tests.
- Get an overview of the process to publish an extension app.