
Update App Center listing
This procedure enables you to use a form to define the text and images that appear in the extension app listing in the Docusign App Center. Instead of using a form, you can define the settings by creating or updating a JSON app manifest file.
Access App Center listing for an extension app
To access an extension app’s App Center listing:
-
Log in to the Developer Console.
-
On the My Extension Apps page, locate the row for the extension app you want to update.
-
Select the app to open the Overview page.
-
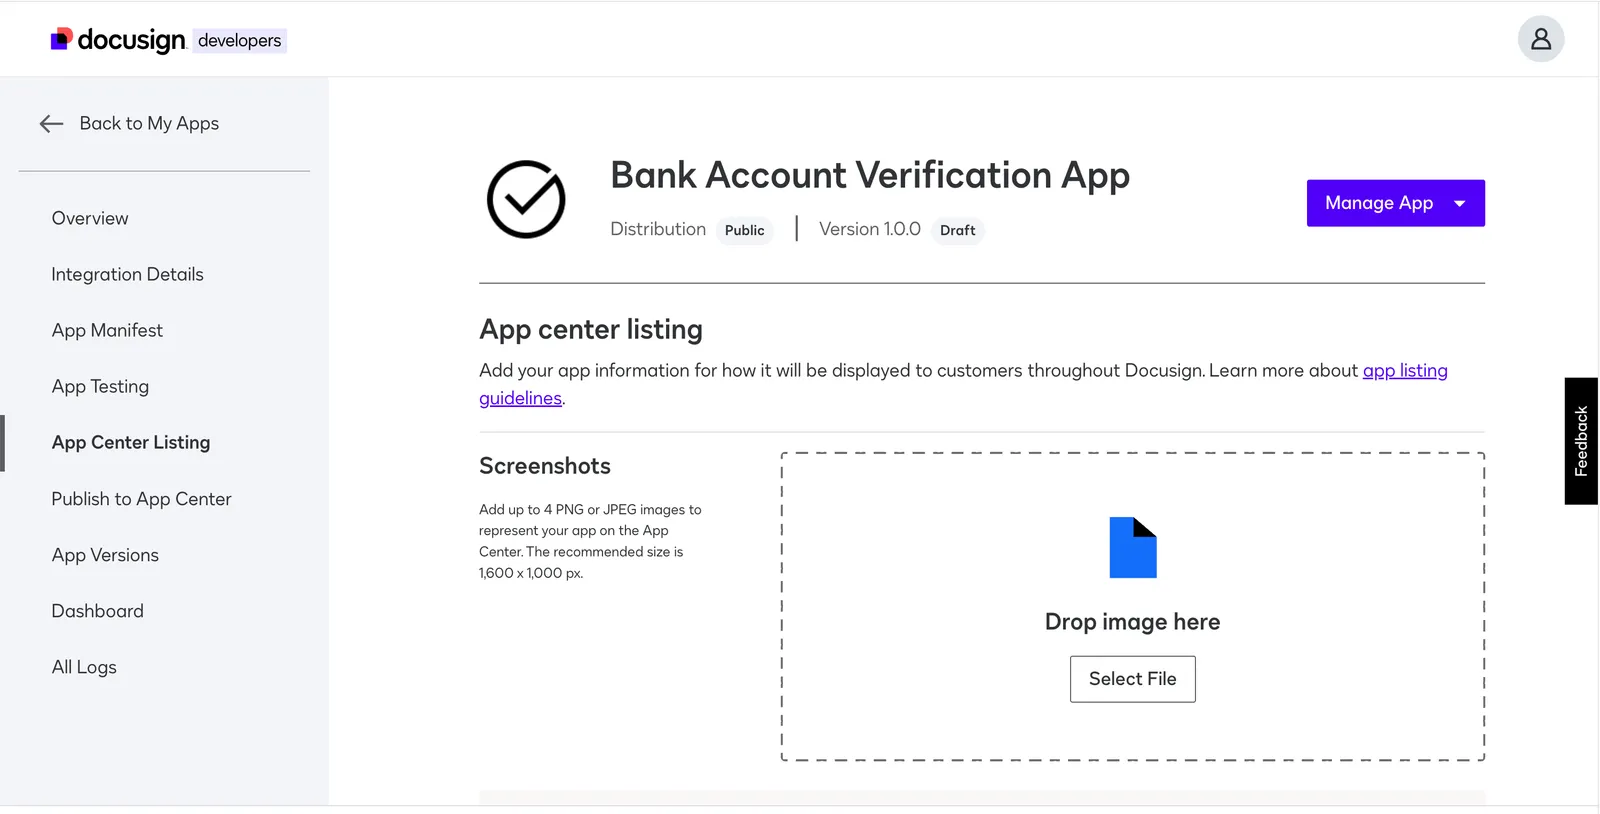
In the left navigation, select App Center Listing.
-
If the extension app registration is newly created, define these settings:
-
If you are updating an existing extension app’s registration, you can modify only the settings you want to change.
If you are updating the registration for a published extension app, you must supply a list of changes for the changelog.
Manage screenshots
Screenshots appear with your extension app listing in the Docusign App Center. You can provide a maximum of four images. The screenshots will be displayed in the order in which you upload them.
Each screenshot must have a 16:10 aspect ratio. Permitted dimensions range from a minimum of 848x530 pixels to a maximum of 1600x1000 pixels. Docusign recommends using the maximum size. The maximum file size per image is 5 MB. The allowed file types are JPEG and PNG.
To add a screenshot:
-
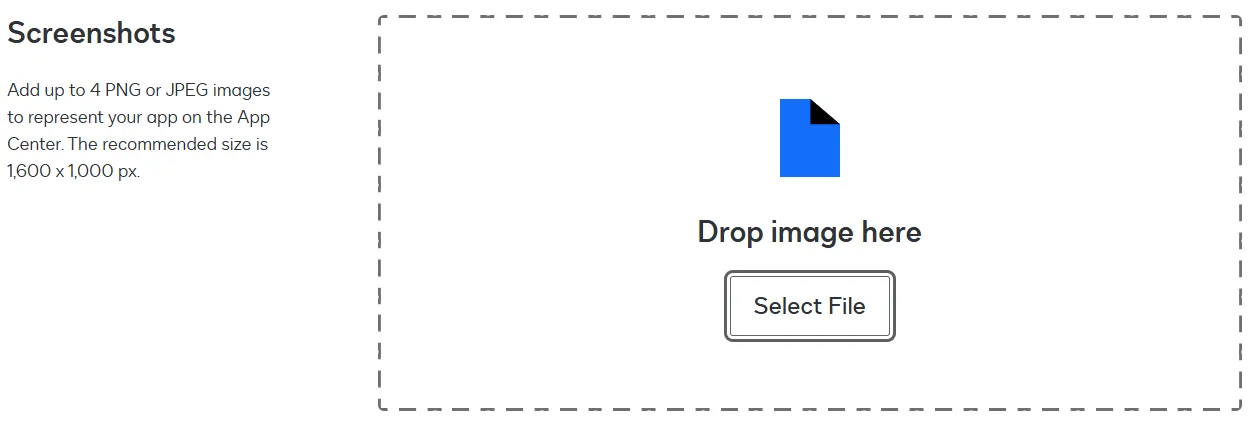
In the Screenshots section, do one of the following:
-
Drag and drop the file.
-
Use the Select File option to open a dialog where you can choose a file.
-
-
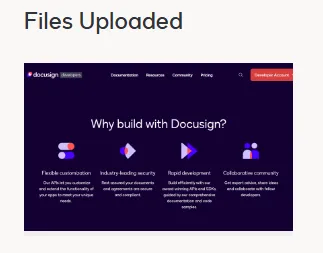
A thumbnail of the uploaded file appears in the Files Uploaded section.
To update a screenshot:
-
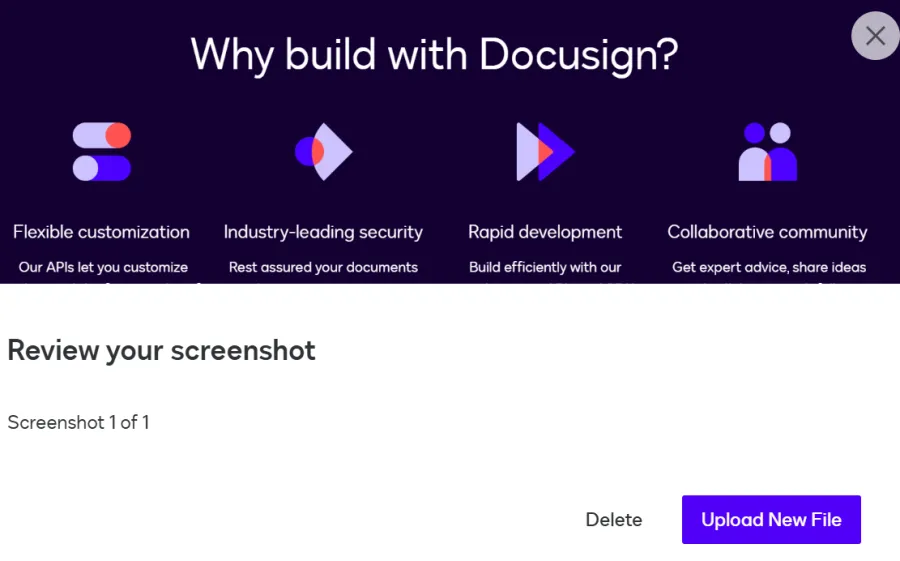
In the Files Uploaded section, select the screenshot you want to update.
-
On the dialog that appears, select Upload New File.
-
Select the new file.
-
Close the dialog.
-
A thumbnail of the new file appears in the Files Uploaded section.
To delete a screenshot:
- Access the App Center Listing page.
- In the Files Uploaded section, select the screenshot you want to delete.
- On the dialog that appears, select Delete.
- The thumbnail for the deleted file no longer appears in the Files Uploaded section.
Update basic information
This procedure enables you to update an extension app display name and short and long description.
To update basic information:
-
In the Basic information section, update these fields as needed:
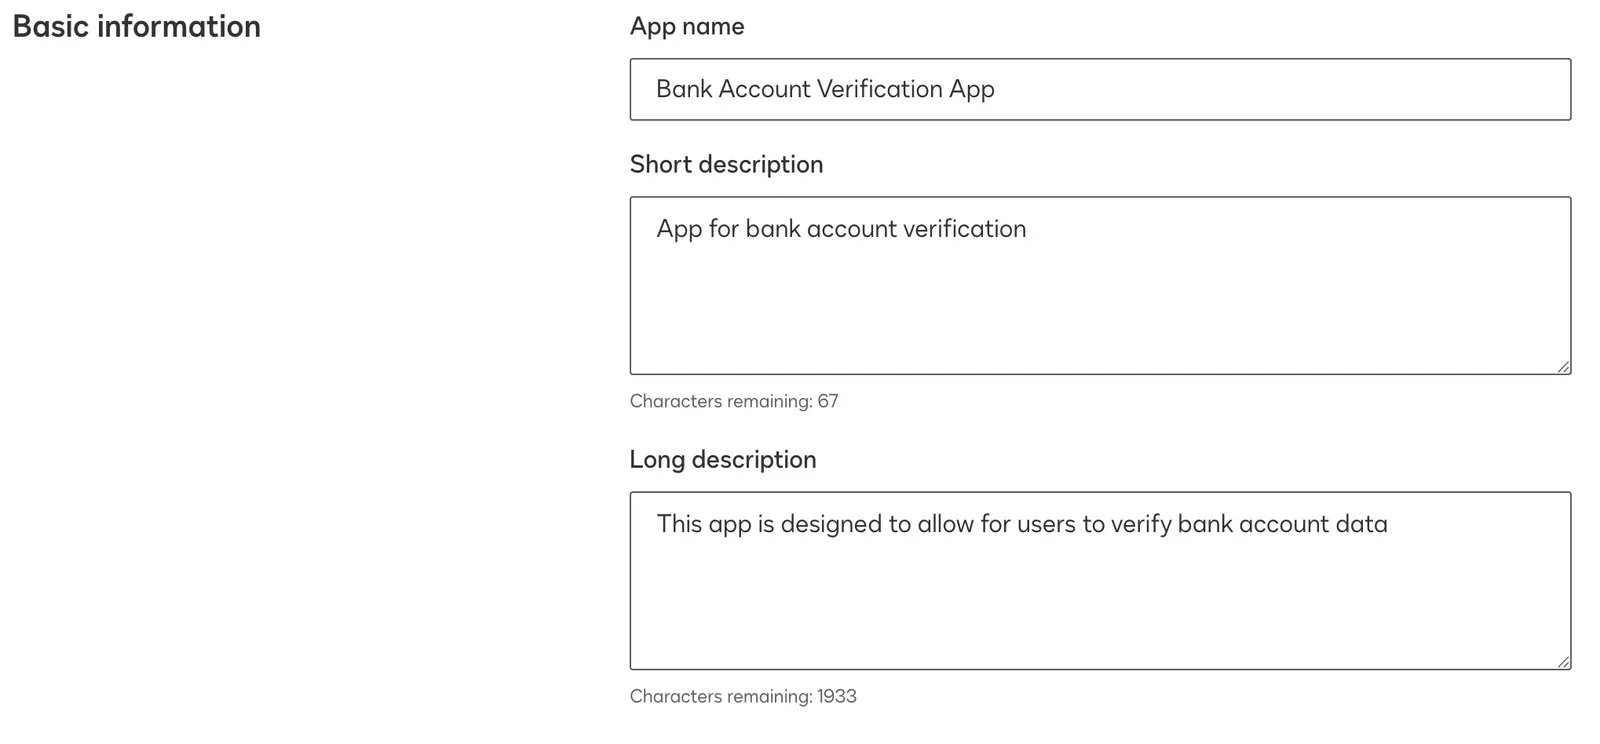
- App name. The name of your extension app. This value must be unique. Maximum length is 30 characters. This name will appear in the Docusign App Center listing for your extension app. For a data IO extension, this name will appear in workflows on the step selection and step configuration screens. For a data verification extension, this name will appear in the eSignature Add Fields view when adding the extension to an envelope or template.
- Short description. A description of your extension app that will appear on the Docusign App Center page where users can browse for extension apps to install. The maximum length is 100 characters.
- Long description. A description of your extension app that will appear on the Docusign App Center page where users can find detailed information about your extension app. The maximum length is 2,000 characters.
-
Select Save.
Update app icon
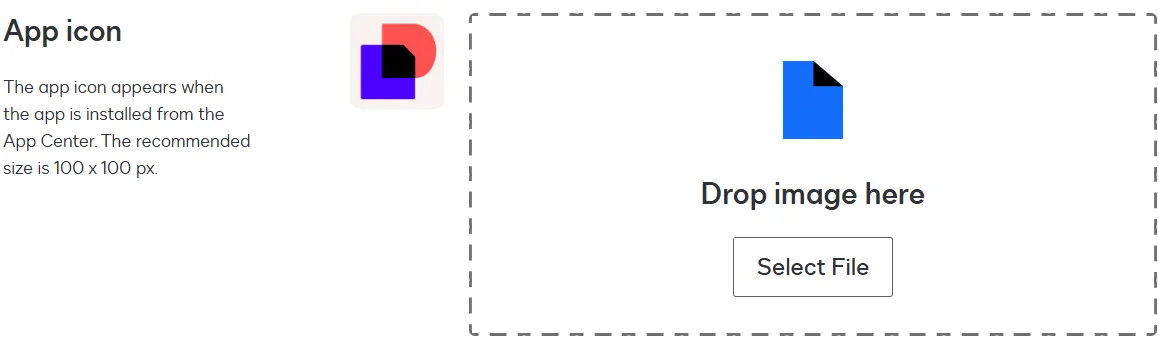
The app icon appears with your extension app’s name on all list and detail pages in the Docusign App Center. If your extension app is used in workflows, the app icon appears on the workflow step selection screen, the workflow setup screen, and the step configuration screen. The app icon also appears on the Developer Console extension app list page and all the extension app detail pages.
The app icon must have a 1:1 aspect ratio. The maximum dimensions are 100x100 pixels. Docusign recommends using the maximum dimensions. The maximum file size is 5 MB. The allowed file types are JPEG and PNG.
To update the app icon:
-
In the App Icon section, to add or update an icon image, do one of the following:
-
Drag and drop the file.
-
Use the Select File option to open a dialog where you can choose a file.
-
-
The uploaded file appears in the App Icon section.
Update publisher details and contact information
Publisher details and contact information appear in your extension app listing in the Docusign App Center.
To update publisher details and contact information:
-
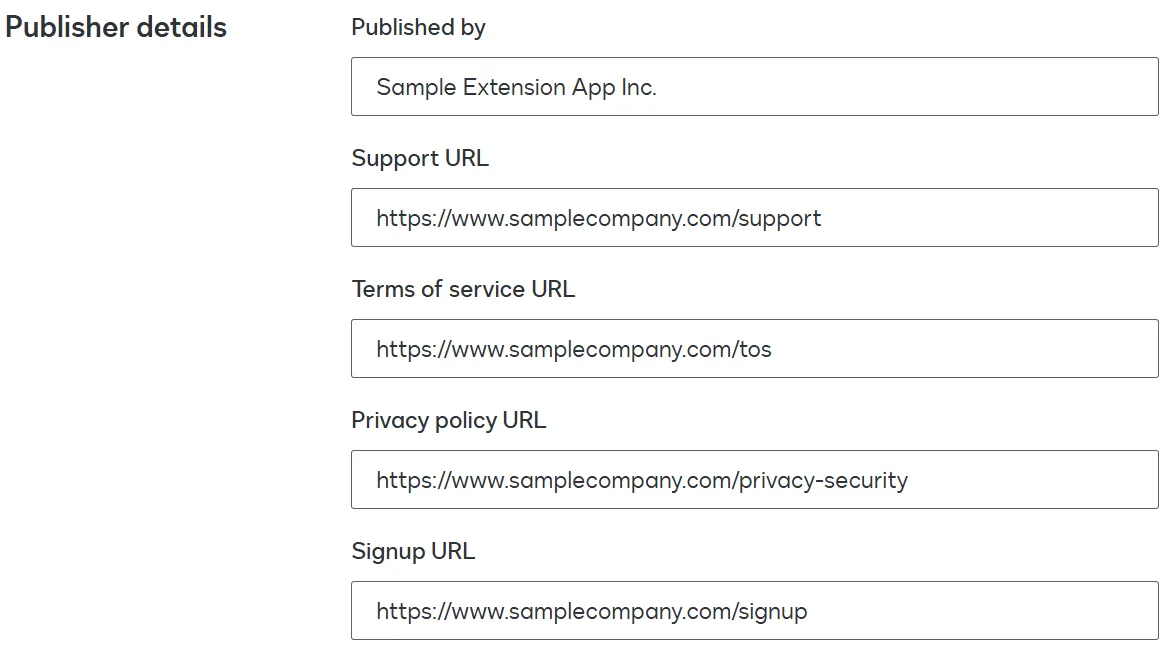
In the Publisher details and Publisher contact sections, update these fields as needed:
-
Published by. The name of the extension app publisher. This value will appear with your extension app’s name in all App Center locations that list your app. This value will also appear on your extension app’s detail page in the App Center as the Developer.
-
Support URL. The URL at which users can obtain support for your extension app. Your extension app’s detail page in the App Center will include this URL as the destination for the Support link under Resources.
-
Terms of service URL. The URL of your extension app’s terms of service. Your extension app’s detail page in the App Center will include this URL as the destination for the Terms of Service link under Resources.
-
Privacy policy URL. The URL of your extension app’s privacy policy. Your extension app’s detail page in the App Center will include this URL as the destination for the Privacy Policy link under Resources.
-
Signup URL. The URL at which users can create an account with the API service to which your extension app connects. The App Center page where users install your extension app will include this URL as the destination for the Sign Up link.
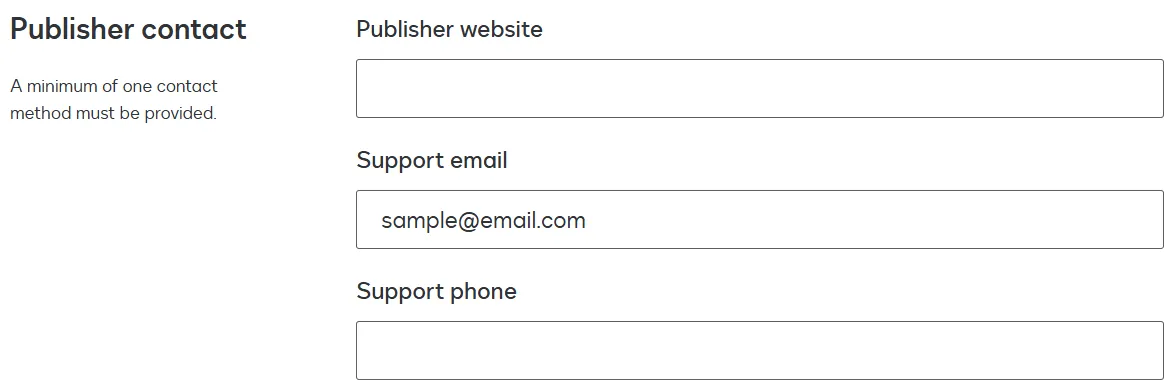
Note: You must supply at least one of the next three values.
-
Publisher website. The URL of the app publisher’s website. Your extension app’s detail page in the App Center will include this URL as the destination for the publisher name link under Developer.
-
Support email. The email address of the app publisher. If provided, the email address will be listed on your extension app’s detail page in the App Center under Resources.
-
Support phone. The phone number at which users can receive support for your extension app. If provided, the phone number will be listed on your extension app’s detail page in the App Center under Resources.
-
-
Select Save.
Update distribution details
The distribution details determine which users in the production Docusign App Center can install your extension app.
To update distribution details:
-
Update these fields as needed:
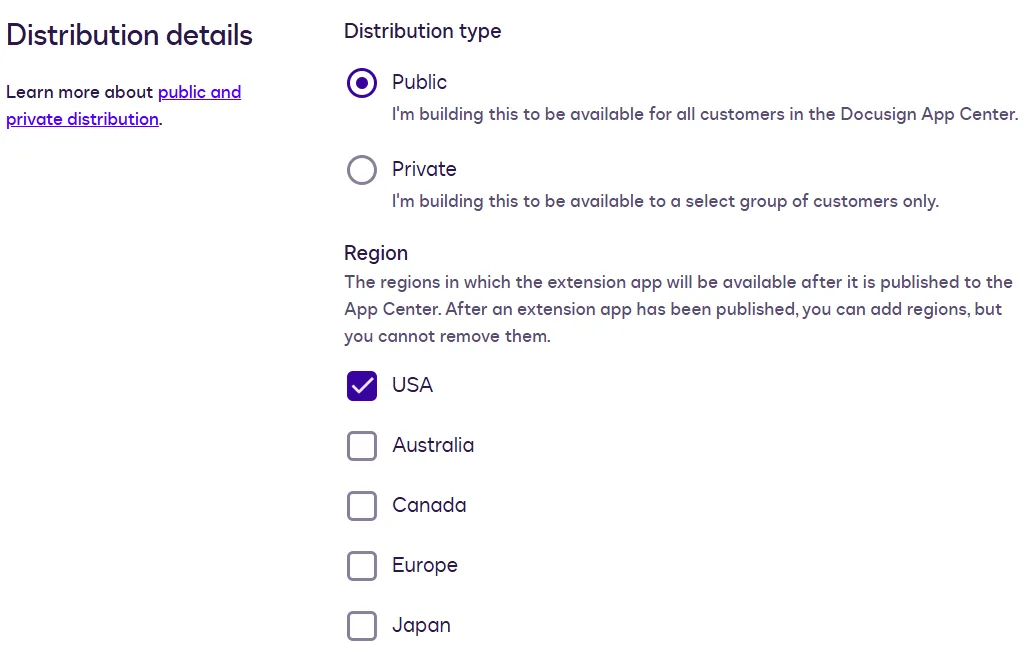
- Distribution Type. Determines whether your extension app will be available in production to all users (public) or only to users in accounts that you specify (private). You cannot change this setting after an extension app has been published. To publish a public extension app, you need to join the Docusign Partner Program. For more information, see Choosing private distribution instead of public.
- Region. The allowed regions for the extension app. In order for a Docusign user to install your extension app in the production App Center, their account must be based in one of the selected regions. See Globalization for details. You cannot remove regions after an extension app has been published.
-
Select Save.
Update changelog
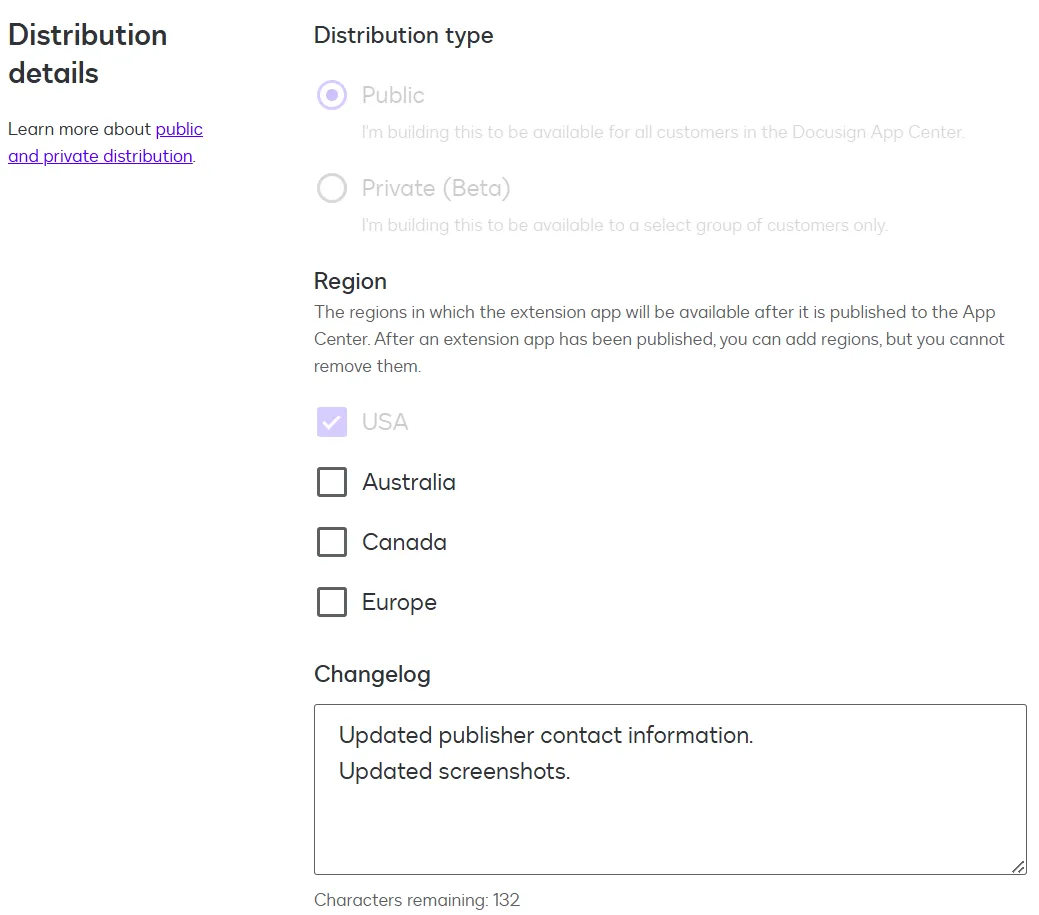
When you update the registration for a published extension app, you must populate the Changelog field with a list of changes in the new version. This information will appear with the extension app listing in the Docusign App Center. The Changelog field does not appear on the App Center Listing page for extension apps that have not been published.
To update the changelog:
-
In the Changelog field, list the extension app changes in the new version.
-
Select Save.
Next steps
- Review the procedure to update the integration details for an extension app.
- See how to update an extension app registration by editing the app manifest file.