
How to set tab values in a template
This topic demonstrates how to set tab values in a template using the Docusign eSignature REST API.
Run this code example from our Quickstart or launcher projects: Bash, C#, Java, Node.js, PHP, PowerShell, Python, or Ruby.
Required data
Running the code in this how-to requires this data:
Step 1. Obtain your OAuth token
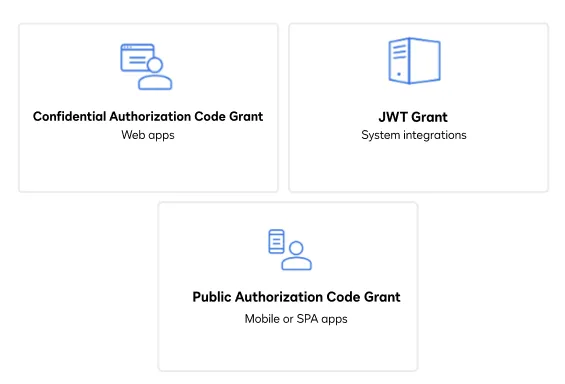
To make the API calls shown in this how-to, you need a valid OAuth access token. Docusign supports access tokens for three different recommended OAuth grant types: Public Authorization Code Grant, Confidential Authorization Code Grant, and JSON Web Token (JWT) Grant. Choose the OAuth grant type appropriate for your scenario.
See Confidential Authorization Code Grant for guidance on your options to get an Confidential Authorization Code Grant OAuth token.
Step 2. Construct your API headers
After you have a valid OAuth access token, you are ready to construct the API headers that you will pass to the API call. Construct your headers like this, but make sure to substitute your valid OAuth access token for {ACCESS_TOKEN}.
Step 3: Create tabs and custom fields
This how-to uses a template generated previously that defines a few different data tab field types. Create tab objects that match the corresponding tab label to link a newly created tab to an existing template tab.
Set a document ID and page number if you have multiple tabs that need to be set across one or more signing groups. Once ready, bundle all of your created tabs together into a tab object and attach that tab object onto the template role.
Step 4. Construct the request body
Next, create the request body. If using a launcher, you can use an Envelope Definition method to build a valid request body.
Make sure to substitute your valid template ID for {TEMPLATE_ID} and the correlated templateRoles as defined on the template being used.
Step 5. Call the eSignature REST API
Now that you have constructed your API headers, make a POST request to the Envelopes:create endpoint to create an envelope.
Here’s how you make the call, but make sure to substitute your API account ID for {ACCOUNT_ID}.
Step 6. Create the view request
Create your recipient view request to begin an embedded signing
session. Include your Redirect URI as the return URL, plus the {CLIENT_SIGNER_ID} and the {SIGNER_NAME}.
Use the EnvelopeViews:createRecipient method to return an embedded signing URL by providing your {API_ACCOUNT_ID}, the generated envelope ID from earlier, and the view request you generated previously. Use the embedded signing URL within your application to sign documents.
Expected response
If you run this code example from our Quickstart or launcher projects, you should see a JSON response similar to the code shown.