
How to request a signature by multiple delivery methods
This topic demonstrates how to request a signature using email as the primary delivery method, with either SMS or WhatsApp as an additional delivery method.
In this configuration:
- You must set email as the primary delivery method.
- You can configure only one secondary delivery method per recipient: SMS or WhatsApp. You cannot configure both SMS and WhatsApp for the same recipient.
- Secondary delivery methods are supported only for
signer(Needs to Sign),carbonCopy(Receives a Copy), andcertifiedDelivery(Needs to View) recipient types.
Recipients receive an email notification for the signing request, along with an SMS or WhatsApp notification. The signing link in any of these notifications can be used to open and electronically sign the document using the Docusign mobile app or the Docusign website.
Run this code example from our Quickstart or launcher projects: Bash, C#, Java, Node.js, PHP, PowerShell, Python, or Ruby.
Required data
Running the code in this how-to requires this data:
Step 1. Obtain your OAuth token
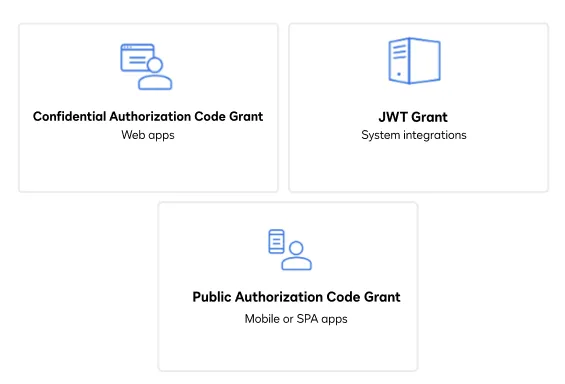
To make the API call shown in this how-to, you need a valid OAuth access token. Docusign supports access tokens for three different recommended OAuth grant types: Public Authorization Code Grant, Confidential Authorization Code Grant, and JSON Web Token (JWT) Grant. Choose the OAuth grant type appropriate for your scenario.
See Confidential Authorization Code Grant for guidance on your options to get an Confidential Authorization Code Grant OAuth token.
Step 2. Create the envelope definition
To request a signature, you need to create a new envelope definition. The accompanying code shows how to create an individual envelope by defining a method named makeEnvelope that creates the envelope definition. The makeEnvelope method:
- Creates and attaches multiple documents to the envelope.
- Sets signer and carbon copy recipient data.
- Creates a routing order for the recipients.
- Creates and assigns signable fields to specific signers within the documents.
To use multiple delivery methods, configure the signer object by setting deliveryMethod to Email, and add an entry to the signer’s additionalNotifications array. In this entry, set secondaryDeliveryMethod to SMS or WhatsApp, and provide the recipient’s phone number by setting values for number and countryCode in the phoneNumber object. You should make these changes for each supported recipient you want to notify via email and SMS or WhatsApp. The accompanying code also demonstrates how to configure a carbon copy recipient using the same fields in the carbonCopy object.
Step 3. Create and send the envelope
With the envelope definition and the attributes defined for the recipients, document, and custom fields, you can now use the Envelopes:create API method to create an envelope and send it, adding your access token and base path to the request header.
Expected response
If you run this code example from our Quickstart or launcher projects, you should see a JSON response similar to the code shown.
In addition, the signer receives an email and an SMS or WhatsApp message. They can use the signing link in any of these notifications to open and electronically sign a document using the Docusign mobile app or the Docusign website. After signing is complete, the recipients receive a carbon copy of the email that includes all of the completed and signed documents.
Next steps
- Run this code example from our Quickstart or launcher projects: Bash, C#, Java, Node.js, PHP, PowerShell, Python, or Ruby.
- Learn more about SMS delivery or WhatsApp.
- Find out How to request a signature by SMS or WhatsApp delivery.
- Learn How to request a signature by email.
- See how to go-live with a completed app and find the base path for API calls in the production environment.