
How to set envelope tab values
This topic demonstrates how to set envelope tab values using embedded signing and sends an envelope with an editable numerical tab and editable text tabs.
Run this code example from our Quickstart or launcher projects: Bash, C#, Java, Node.js, PHP, PowerShell, Python, or Ruby.
Required data
Running the code in this how-to requires this data:
Step 1. Obtain your OAuth token
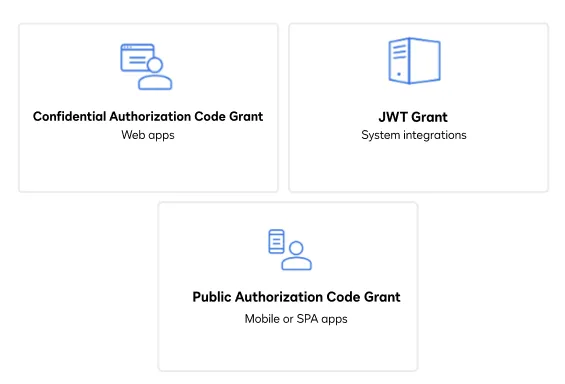
To make the API calls shown in this how-to, you need a valid OAuth access token. Docusign supports access tokens for three different recommended OAuth grant types: Public Authorization Code Grant, Confidential Authorization Code Grant, and JSON Web Token (JWT) Grant. Choose the OAuth grant type appropriate for your scenario.
See Confidential Authorization Code Grant for guidance on your options to get an Confidential Authorization Code Grant OAuth token.
Step 2. Construct your API headers
After you have a valid OAuth access token, you are ready to construct the API headers that you will pass to the API call. Construct your headers like this, but make sure to substitute your valid OAuth access token for {ACCESS_TOKEN}.
Step 3. Construct the request body
If you’re using a Docusign SDK, you can prepare a compatible request body by creating an envelope definition using the included makeEnvelope method.
- Set a
signHeretab to collect signature information. - Create two text tabs to collect a full name and a familiar name of the signer to prefill the document.
- Create a numerical tab for salary.
- Set the associated anchor strings so they match their placement within the document and include a tab ID so they are easy to retrieve.
Step 4. Call the eSignature REST API
Now that you have constructed your API headers, make a request to Envelopes:create to send an envelope. Here’s how you make the call, but make sure to substitute your valid API account ID for {account_id}.
Step 5. Create the recipient view definition
The recipient view is the screen that Docusign generates and displays in your app to enable your signers to sign documents. The recipient view request returns a link that enables your recipients to sign documents from your app. To create the definition, you must add the signer’s information and the redirect URI.
-
Set the redirect URI to which the user will be forwarded after signing is complete. This URI must exactly match one that is preregistered for the integration key in your Docusign account.
Note: You can include a
stateparameter in the URI string to record your application’s state and provide recovery information, potentially enabling it to resume interrupted operations using only callback data. -
Add the recipient information to the view, including the signer’s email, name, and client user ID.
Expected response
Use the return URL in the JSON response to start the embedded signing session in your browser.
Next steps
- Run this code example from our Quickstart or launcher projects: Bash, C#, Java, Node.js, PHP, PowerShell, Python, or Ruby.
- See your options for setting tabs and learn more about working with tabs.
- Learn more about embedded signing.
- See how to Go-Live with a completed app and find the base path for API calls in the production environment.