
How to send an envelope with delayed routing
This topic demonstrates how to delay an envelope’s delivery between recipients using the delayed routing feature.
Run this code example from our Quickstart or launcher projects: Bash, C#, Java, Node.js, PHP, PowerShell, Python, or Ruby.
Required data
Running the code in this how-to requires this data:
Step 1. Obtain your OAuth token
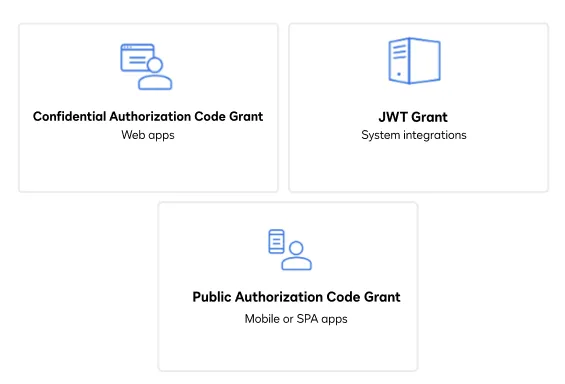
To make the API call shown in this how-to, you need a valid OAuth access token. Docusign supports access tokens for three different recommended OAuth grant types: Public Authorization Code Grant, Confidential Authorization Code Grant, and JSON Web Token (JWT) Grant. Choose the OAuth grant type appropriate for your scenario.
See Confidential Authorization Code Grant for guidance on your options to get an Confidential Authorization Code Grant OAuth token.
Step 2. Construct the request body
Next, create the request body. Construct an envelope definition with two signers. Set the routing order so that one recipient has a routing order of "1" and the other has a routing order of "2". The delayed routing feature will use the routing order to determine where to add a delay when sending the envelope. Then add the workflowSteps to the envelope definition.
The workflowSteps section describes the delayed routing for one of the recipients in the envelope. In the accompanying code, the action field is set to "pause_before" and the triggerOnItem field is set to "routing_order" with an itemId of "2". DELAY indicates the time lapse after the envelope is sent to the first recipient and before the envelope is sent to the second recipient.
Step 3. Call the eSignature REST API
Now that you have constructed your API headers and request body, you can schedule the envelope with the Envelopes:create method. Here’s how you make the call, but make sure to substitute your API account ID for {ACCOUNT_ID}.
Expected response
If you run this code example from our Quickstart or launcher projects, you should see a JSON response similar to the code shown.
In addition, the signer receives an email containing a signing link that they can use to open and electronically sign a document using the Docusign mobile app or the Docusign website. After signing is complete, the recipient receives a carbon copy (CC) of the email that includes all of the completed and signed documents.
Next steps
- Run this code example from our Quickstart or launcher projects: Bash, C#, Java, Node.js, PHP, PowerShell, Python, or Ruby.
- Learn more about Delayed routing.
- Learn How to schedule an envelope.
- See how to Go-Live with a completed app and find the base path for API calls in the production environment.