
How to set document visibility for envelope recipients
The document visibility feature is available in all developer accounts, but only in certain production account plans. Contact Docusign Support or your account manager to find out whether document visibility is available for your production account plan.
This topic demonstrates how to set document visibility for envelope recipients. Document visibility allows senders to control which documents each recipient can see in an envelope with multiple documents.
Note: A document cannot be hidden from a recipient if the recipient has tabs assigned to them on the document. Carbon Copy, Certified Delivery (Needs to Sign), Editor, and Agent recipients can always see all documents, unless they are specifically excluded using the excludedDocuments property when an envelope is sent.
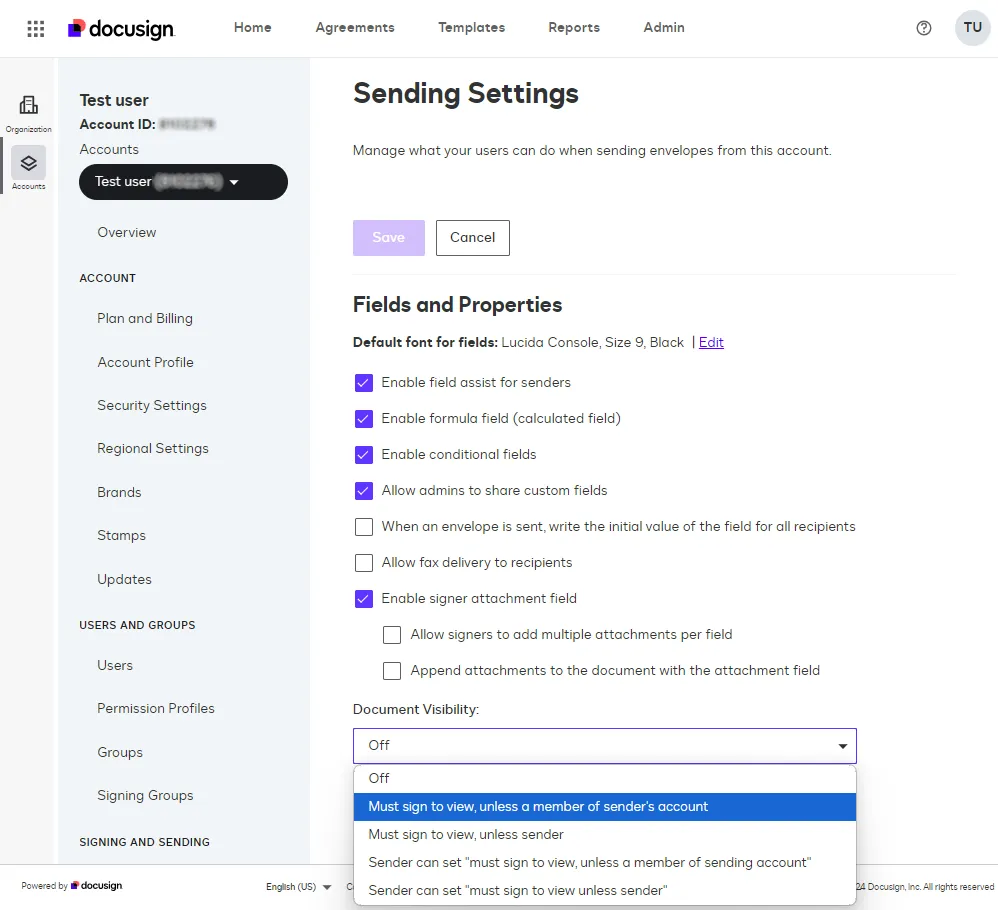
Important: You must enable document visibility in your account to complete this how-to:
- In production, enable the Allow sender to specify document visibility parameter in the Sending Settings. This parameter is not displayed in the developer environment Sending Settings, because the feature is enabled on that environment by default.
- In both production and the developer environment, set the Document Visibility parameter in the Sending Settings to any value except Off.
See the Document Visibility section in Fields and Properties for details about document visibility options.
Run this code example from our Quickstart or launcher projects: Bash, C#, Java, Node.js, PHP, PowerShell, Python, or Ruby.
Required data
Running the code in this how-to requires this data:
Step 1. Obtain your OAuth token
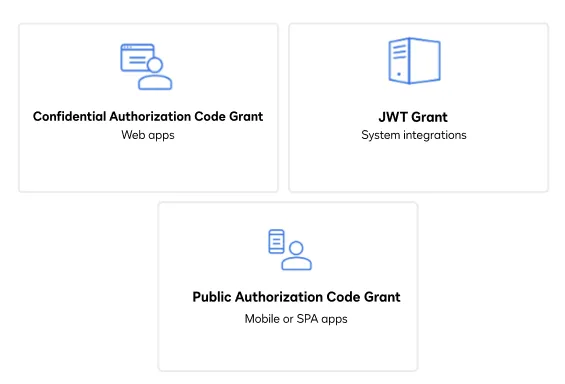
To make the API call shown in this how-to, you need a valid OAuth access token. Docusign supports access tokens for three different recommended OAuth grant types: Public Authorization Code Grant, Confidential Authorization Code Grant, and JSON Web Token (JWT) Grant. Choose the OAuth grant type appropriate for your scenario.
See Confidential Authorization Code Grant for guidance on your options to get an Confidential Authorization Code Grant OAuth token.
Step 2. Construct your API headers
After you have a valid OAuth access token, you are ready to construct the API headers that you will pass to the API call. Construct your headers like this, but make sure to substitute your valid OAuth access token for {ACCESS_TOKEN}.
Step 3. Construct the request body
Next, create the request body. To create an envelope using the eSignature REST API, you need to construct an envelope body in JSON format. Replace {CC_EMAIL}, {CC_NAME}, {SIGNER1_EMAIL}, {SIGNER1_NAME}, {SIGNER2_EMAIL}, and {SIGNER2_NAME} with your recipients’ data in the JSON request body.
Include the enforceSignerVisibility property set to true. This enforces the option selected in the Document Visibility section in your account Sending Settings for the envelope. When enforceSignerVisibility is set to true, you can also override the selected Document Visibility option for specific recipients by omitting documents from their envelopes. To omit documents for a recipient, set excludedDocuments to an array of the user-defined document IDs that should be hidden from the recipient when they receive the envelope.
Step 4. Call the eSignature REST API
Now that you have constructed your API headers and request body, make a POST request to the eSignature REST API and include the request body to send an envelope with the specified document visibility. Here’s how you make the call, but make sure to substitute your API account ID for {ACCOUNT_ID}.
Expected response
- Signer 1 should be able to view and sign “Order acknowledgement”
- Signer 2 should be able to view and sign “Battle Plan Trafalgar” and “Lorem Ipsum”
- Carbon copy recipient should be able to see all three completed documents
Next steps
- Run this code example from our Quickstart or launcher projects: Bash, C#, Java, Node.js, PHP, PowerShell, Python, or Ruby.
- See requirements and limitations with document visibility.
- Learn how to Send Using Advanced Workflow Features.
- Learn How to request a signature by email.
- See how to Go-Live with a completed app and find the base path for API calls in the production environment.