
How to send an envelope to an In Person Signer
This topic demonstrates how to host an In Person Signing session with embedded signing. In Person Signing allows a host to facilitate a Docusign session for a signer who is physically in the same location as them.
Run this code example from our Quickstart or launcher projects: Bash, C#, Java, Node.js, PHP, PowerShell, Python, or Ruby.
Required data
Running the code in this how-to requires this data:
Step 1. Obtain your OAuth token
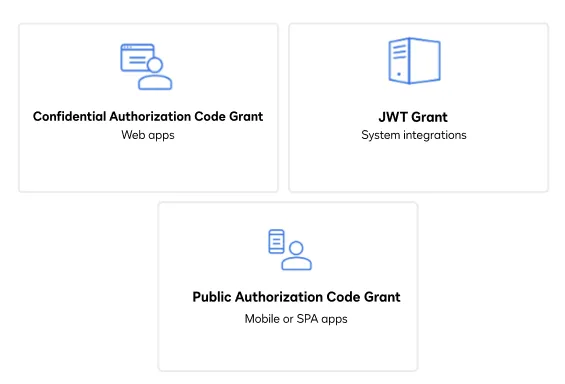
To make the API calls shown in this how-to, you need a valid OAuth access token. Docusign supports access tokens for three different recommended OAuth grant types: Public Authorization Code Grant, Confidential Authorization Code Grant, and JSON Web Token (JWT) Grant. Choose the OAuth grant type appropriate for your scenario.
See Confidential Authorization Code Grant for guidance on your options to get an Confidential Authorization Code Grant OAuth token.
Step 2. Construct the envelope definition
Next, create your envelope definition. Add a document to the definition by saving it to a variable as a binary-encoded Base64 string. Then add an In Person Signer recipient to the envelope. In Person Signing requires that a Docusign account holder act as the host. Set the hostName and hostEmail fields to the name and email address associated with the host’s Docusign account. Set the signerName field to the legal name of the In Person Signer. Then add a signHereTab to the recipient and set the envelope’s status to sent.
Step 3. Call the eSignature REST API to create the envelope
Now that you have constructed your API headers and request body, make a POST request to the Envelopes:create endpoint and include the request body to create the envelope. Save the envelope ID to use later on when creating the recipient view.
Step 4. Create the recipient view definition
The recipient view is the screen that Docusign generates and displays in your app to enable embedded signing. The accompanying code demonstrates how to write the request body for your recipient view. Set the returnUrl to the URL where your users will be sent after signing is complete and use the host’s name and email address for the userName and email fields. You will not be able to initiate embedded signing if these fields do not have the same value as the hostName and hostEmail fields from the envelope definition in Step 3.
Step 5. Call the eSignature REST API to create the recipient view
Next, call the EnvelopeViews:createRecipient method, passing in your API account ID, envelope ID, and request body generated in previous steps.
Finally, extract the URL for the embedded signing ceremony, which is the value of the url key from the JSON response. You can redirect your app’s internal browser to this URL to begin signing.
Expected response
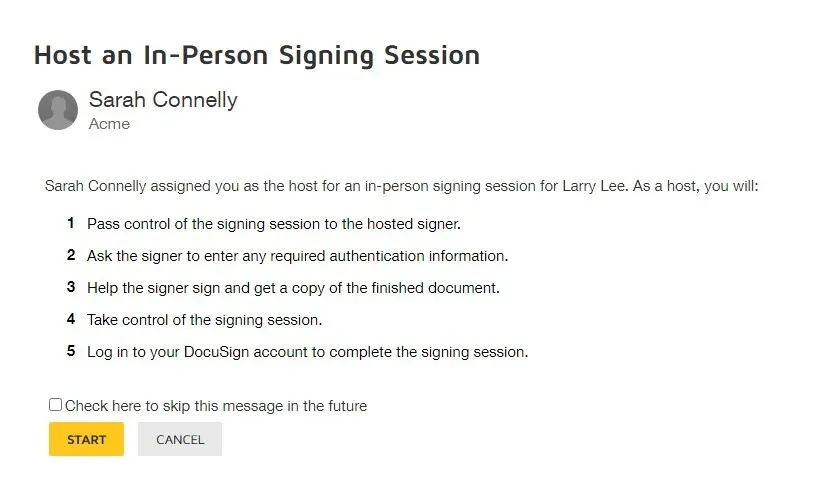
The host will be directed to the screen asking them to host the In-Person Signing session. After choosing START, they can hand the device to the in person signer to sign the document. Then the host can complete the signing session per the listed steps.
Next steps
- Run this code example from our Quickstart or launcher projects: Bash, C#, Java, Node.js, PHP, PowerShell, Python, or Ruby.
- Learn more about embedded signing.
- See how to Go-Live with a completed app and find the base path for API calls in the production environment.