
How to send a request for payment
This topic demonstrates how to use Docusign Payments to collect payments by envelope. It walks you through the process of configuring a payment gateway that will accept and process the payments from signers. Then it shows you how to collect online credit card payments through an order form that you send in an envelope. You can test this example using one of the test credit cards provided by Stripe.
Run this code example from our Quickstart or launcher projects: Bash, C#, Java, Node.js, PHP, PowerShell, Python, or Ruby.
Required data
Running the code in this how-to requires this data:
Step 1. Obtain your OAuth token
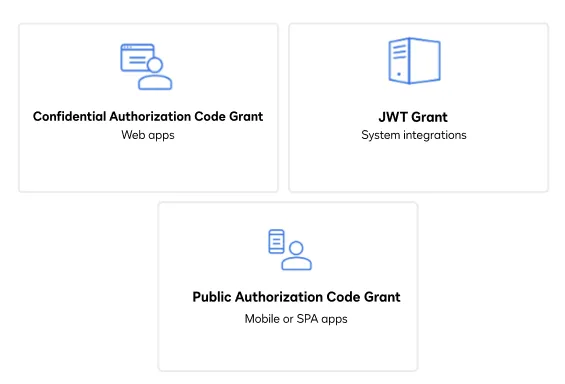
To make the API call shown in this how-to, you need a valid OAuth access token. Docusign supports access tokens for three different recommended OAuth grant types: Public Authorization Code Grant, Confidential Authorization Code Grant, and JSON Web Token (JWT) Grant. Choose the OAuth grant type appropriate for your scenario.
See Confidential Authorization Code Grant for guidance on your options to get an Confidential Authorization Code Grant OAuth token.
Step 2. Configure a payment gateway
Before you can use Docusign Payments, an account administrator (for this example, you, the developer) must set up one or more payment gateways for your account by following the steps in Managing Payment Gateways.
Docusign offers built-in connections to multiple payment gateways. This example uses a demo account and the Stripe payment gateway service.
Follow these steps:
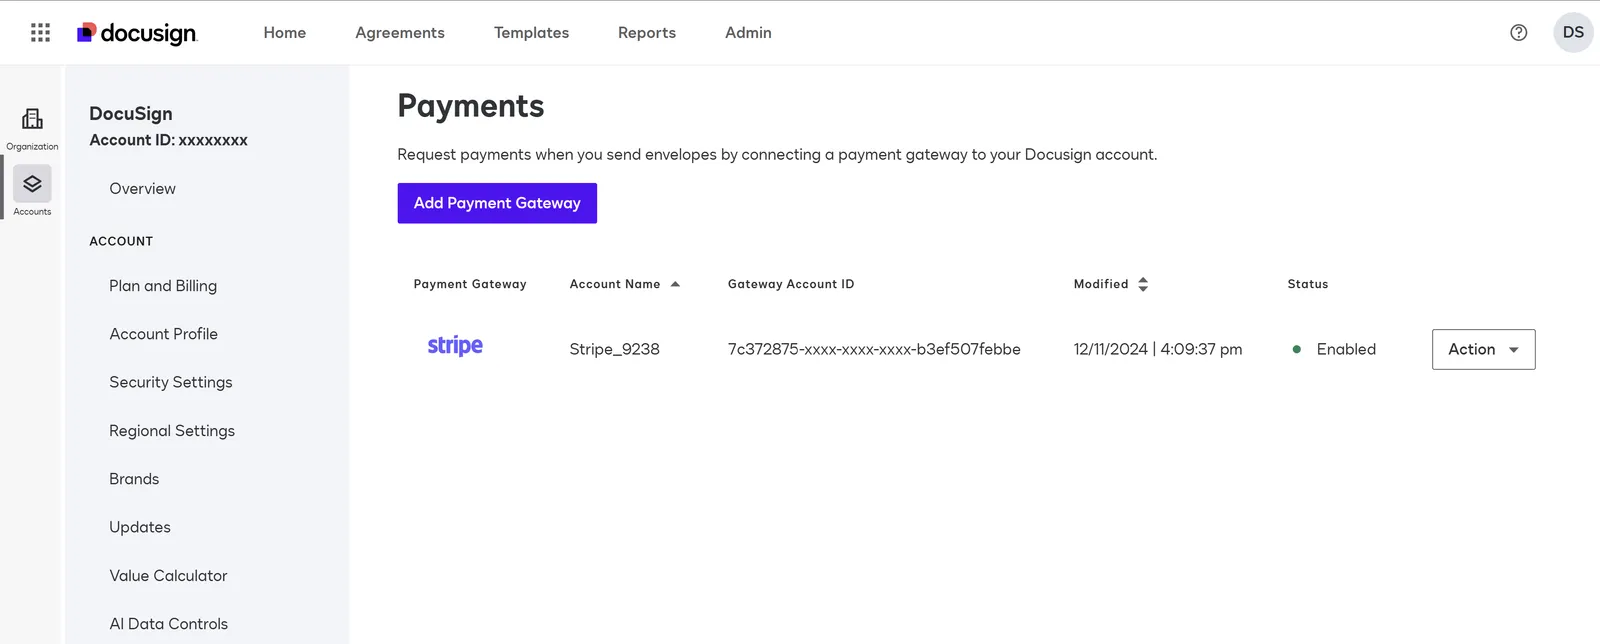
- Select the Stripe button on the Payments page.
- For development, you can skip the Stripe account application by using the Skip this account form link at the top of the page. An enabled Stripe payment gateway account is now associated with your developer account and is shown under Payment Gateway.
- Configure your code with the Gateway Account ID that displays in Settings. For this example, you will need to include the gateway account ID, gateway name, and gateway display name in the envelope arguments.
Step 3. Create the envelope definition
Next, you create a new envelope definition. The envelope in this example uses an HTML document that contains an order form, formula fields, and multiple tags. The example also sets constants for items related to the order form. (In your integrations, you would pull these items from a product database.) Define a makeEnvelope method to create the envelope definition:
-
Read the HTML file for the order form. This example pulls from the
order_form.htmlfile in the source repository’sdocumentsfolder. -
In the form, replace the placeholders for
signerName,signerEmail,ccName, andccEmailwith the actual values. -
Create the envelope definition.
-
Add the file containing the order form to the envelope as
doc1. Create the document as a base64-encoded variable, then use that to create the document object. -
Create a signer recipient using the signer’s name and email address. The example gives the signer a
signingOrderof1so that they’re the first recipient to receive it, ensuring that the CC recipient receives a signed copy. -
Create a CC recipient using the CC user’s name and email. In the example, the CC recipient has a
routingOrderof2. -
Create tabs for signature and quantities. The tabs in this example use anchor positioning.
- The first tab is a signHere tab anchored to
/sn1/in theorder_form.htmlfile. - The next two tabs are list tabs, both of which use the same list item definitions. They are anchored to
/l1q/and/l2q/in the order form.
- The first tab is a signHere tab anchored to
-
Create tabs for amounts. These are formula tabs anchored to
/l1e/,/l2e/and/l3t/in the order form. The first two calculate values based on the values from the list tabs, multiplied by the item prices. The third calculates the total based on the first two. -
Create objects for Docusign Payments. These include
PaymentLineItemobjects for each line item, plus aPaymentDetailsobject for capturing the transaction details and gateway information. -
Create a formula tab for the payment itself. This tab is hidden (note that
x_positionandy_positionare both0). -
Associate the signer’s tabs with the signer recipient object.
-
Add the recipients to the envelope definition.
-
Set the envelope’s
status. By default, thestatusis set tosent, which indicates that the system will immediately send the envelope. To create the envelope as a draft, set thestatustocreatedinstead.
Step 4. Call the eSignature REST API
Next, create the envelope from the definition that you created in the previous step.
- Instantiate the Docusign API client.
- Set the following default request header to add your access token.
"Authorization" : "Bearer {ACCESS_TOKEN}" - Initialize the eSignature REST API.
- Create an envelope by passing in the generated envelope definition and your API account ID.
Expected response
If you run this code example from our Quickstart or launcher projects, you should see a JSON response similar to the code shown.
Next steps
- Run this code example from our Quickstart or launcher projects: Bash, C#, Java, Node.js, PHP, PowerShell, Python, or Ruby.
- Find out more about Docusign payments.
- See how to Go-Live with a completed app and find the base path for API calls in the production environment.