
Connect Slackbot to the Docusign MCP Server
The Docusign Model Context Protocol (MCP) Connector for Slackbot connects your Slack workspace to the Docusign MCP Server. This enables you to manage agreements in your Docusign account by entering natural language prompts in a Slackbot chat. After installing the connector, you can use Slack to complete tasks such as sending eSignature envelopes, getting Agreement Manager insights, and starting Workflow Builder workflows.
Note: This page describes the procedure to install the Docusign MCP Connector for Slackbot for use with a Docusign developer (demo) account. To use the connector with a Docusign production account, see Connect a Docusign Account to Slackbot.
Prerequisites
To install the Docusign MCP Connector for Slackbot, you need the following:
-
Docusign prerequisites
- A Docusign developer account. You can create one for free.
-
Slack prerequisites
- A Slack workspace that allows custom apps
- A Slack account in that workspace with permission to create and configure apps
- Access to the Slack API dashboard, where you can configure your workspace’s apps
Install the Slackbot connector
Follow the steps in the next sections to install the Docusign MCP Connector for Slackbot.
Step 1. Set up an integration key in your Docusign account
Note: Instead of creating an integration key, you can use an existing integration key in your developer account. Make sure that the integration key is configured with the required redirect URI for Slack, listed in step 6 below.
To set up an integration key in your Docusign developer account for use with the Docusign MCP Connector for Slackbot:
-
Access the Apps and Keys page on the developer (demo) environment, and log in with your developer account credentials.
-
Select Add App and Integration Key.
-
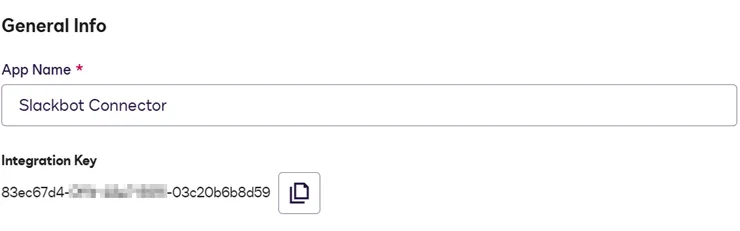
Enter a name for the app, such as Slackbot Connector.
-
Under General Info, locate the Integration Key, copy the value, and save it so that you can retrieve it later.
-
Under Authentication, select Add Secret Key, copy the value, and save it so that you can retrieve it later. For security, this value is visible only after you create it. If you leave the page and return to it later, the secret key cannot be displayed again.

-
Under Additional settings, select Add URI, and add this value:
https://oauth2.slack.com/external/auth/callback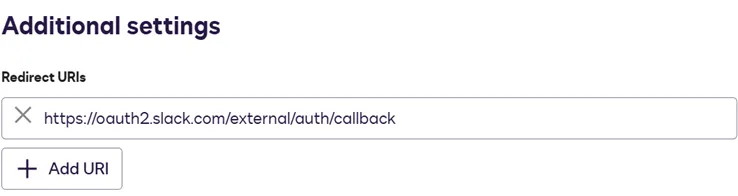
-
Select Save to save the app settings.
Step 2. Create a Slack app
- Access the Slack API dashboard and sign in with your Slack account credentials.
- Select Create New App.
- Select Blank app.
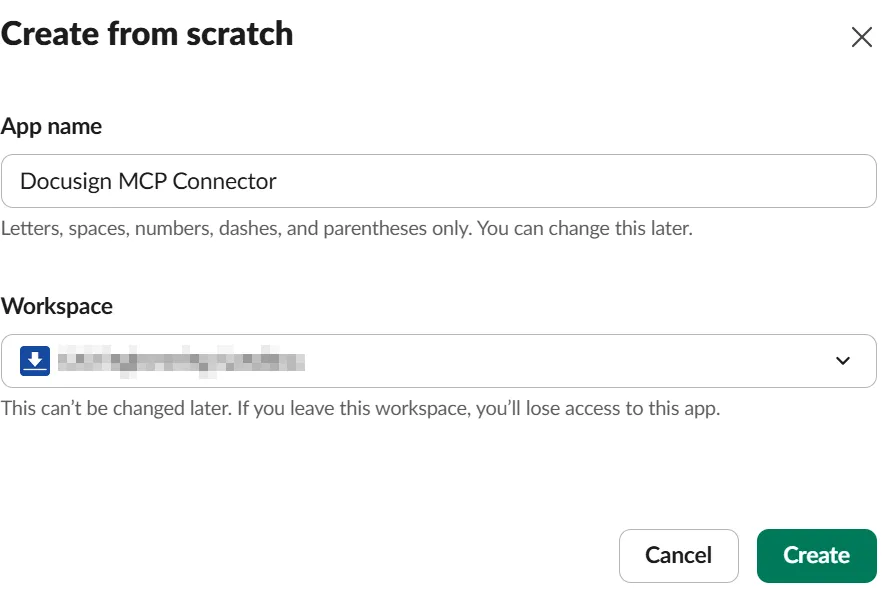
- Enter an app name, select your workspace, and select Create.
- The app’s OAuth & Permissions page is displayed.
Step 3. Add a scope to the Slack app
- In the Slack API dashboard left navigation, make sure that OAuth & Permissions is selected.
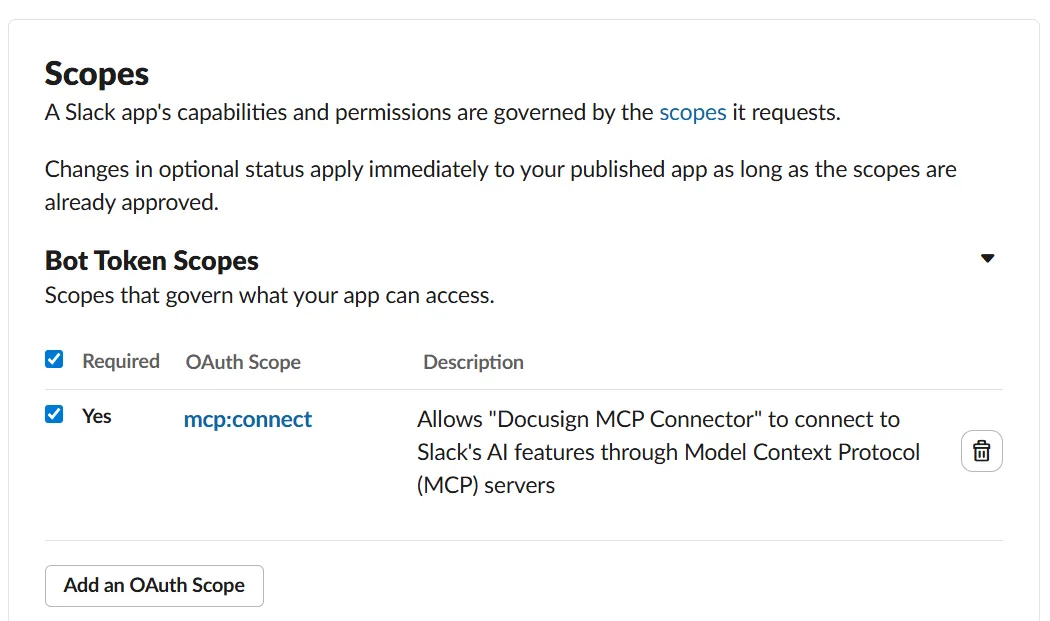
- In the Scopes section, under Bot Token Scopes, add the mcp:connect scope.
Step 4. Add an MCP Server to the Slack app
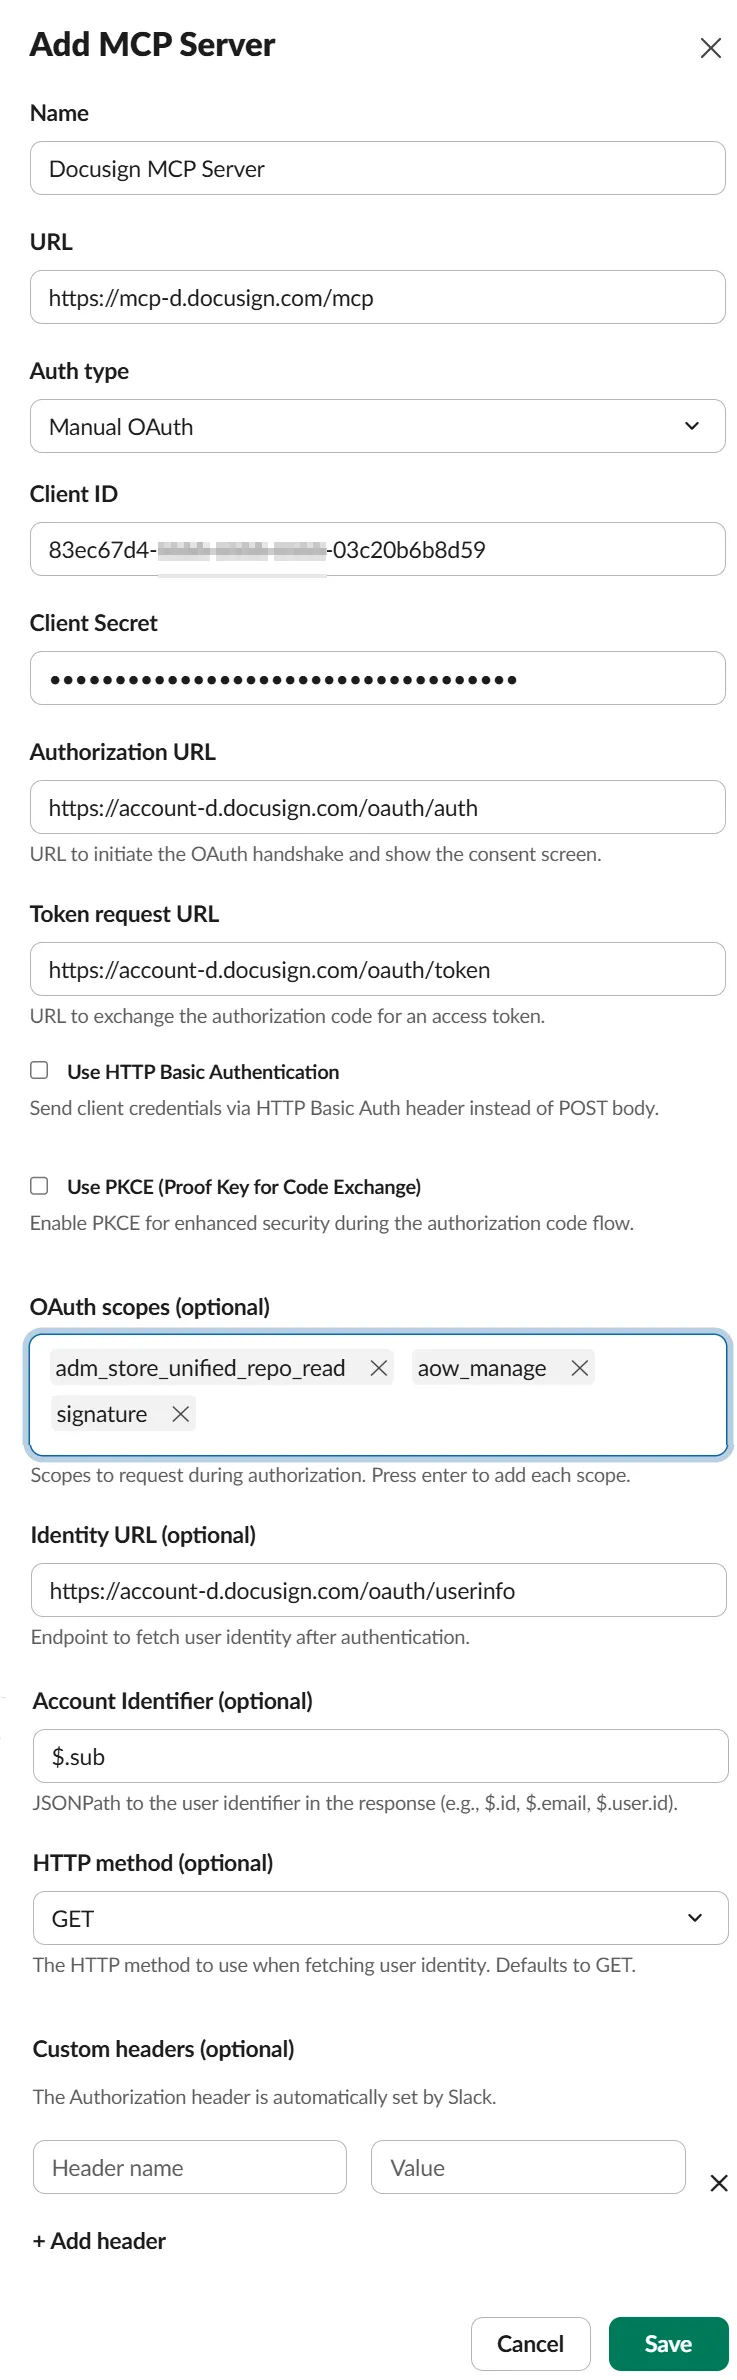
- In the Slack API dashboard left navigation, select MCP Servers.
- Select Get Started, supply the following values, and select Save:
Step 5. Install the Slack app to your workspace
-
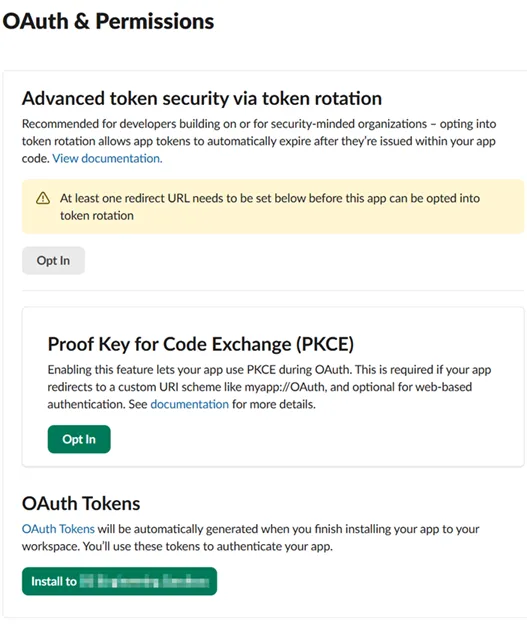
In the Slack API dashboard left navigation, select OAuth & Permissions.
-
Under OAuth Tokens, select Install to [workspace name].
-
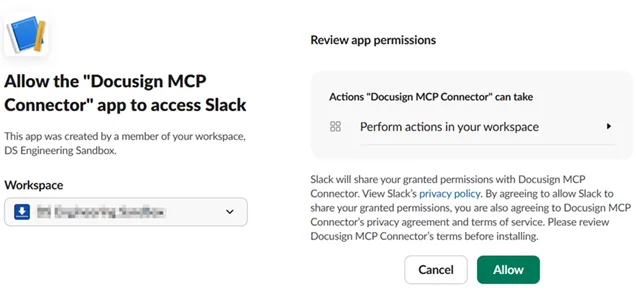
Confirm that the correct workspace is selected, and select Allow.
Step 6. Connect the app in your Slack workspace
-
In your Slack workspace, expand Agents & apps in the left nav, and select Slackbot.
-
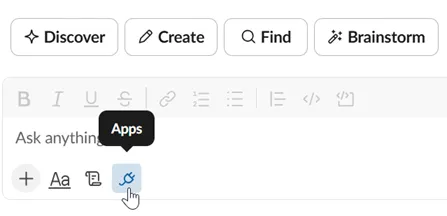
Select the Apps icon.
-
Select Manage apps.
-
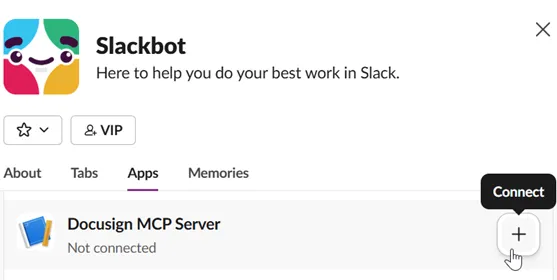
Under Apps, locate the Slack app you created for the Docusign MCP connector, and select the plus icon to connect.
-
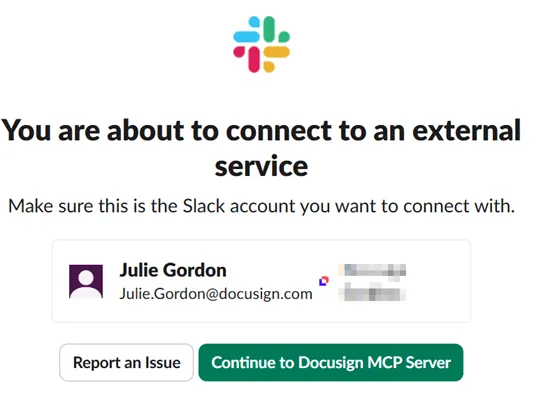
Confirm that the correct Slack account is displayed, and select Continue.
-
Log in with your Docusign developer account credentials.
-
On the Slackbot Connector is requesting access page, select Allow Access.
-
Close the window that displays the message Your account is connected.
-
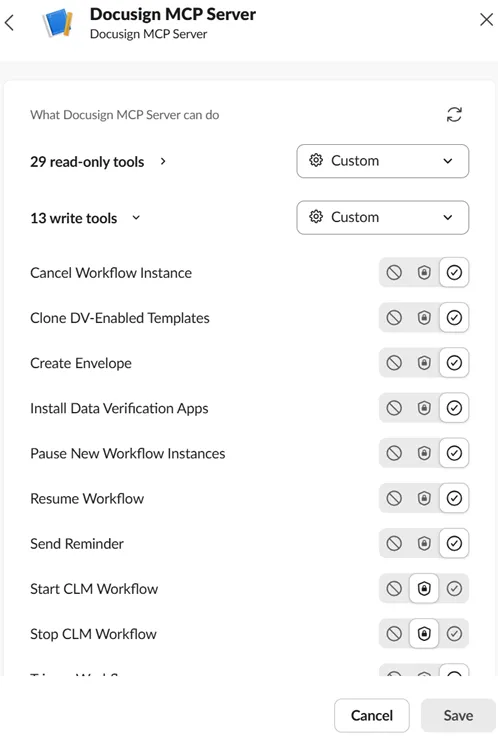
On the permissions window, configure the connector with permissions needed for various Docusign tasks, such as creating envelopes from templates and getting agreement details. See MCP tools for a list of tasks.
-
Select Save.
-
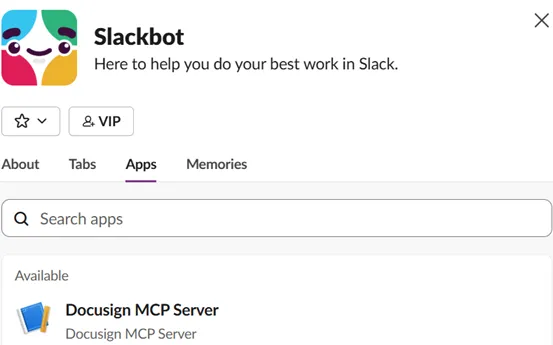
The Slackbot Apps list shows the application as available.
Test the connector with example prompts
After you install the connector, you can test it by entering natural language prompts in a Slackbot chat.
Try the following example prompts to verify that the connector is working. Prompts are dependent on the templates, agreements, and workflows available in your account.
Send an envelope using an eSignature template
Using the [template name] template, send a new document for signature using Docusign
Get Agreement Manager insights
Trigger a workflow
Start a [workflow name] workflow using Docusign Workflow Builder
Next steps
- Learn how to install and configure the Docusign MCP Connector for Anthropic (Claude) to use agreement intelligence in Claude.
- Set up the Docusign MCP Connector for GitHub (Copilot) to access Docusign capabilities in your development environment.
- Configure the Docusign MCP Connector for Microsoft Copilot Studio to integrate agreement workflows with Microsoft Copilot.