
How to create an IK and manage guest developers in the Developer Console
The Developer Console integrations management features are now in open beta. All developers can create and manage integration keys using the console interface.
The Docusign Developer Console is the single location where you can manage integration keys (IKs) across both the demo and production environments. Now, you can promote your app to production through the click of a button and you no longer need to switch between multiple accounts or follow the legacy Go-Live process. You will manage everything from a single production account. You also have more granular control over developer permissions, and no longer need to give developers the DS Admin permission profile to let them manage integration keys.
Follow the steps below to manage developer permissions, create an integration key in the Developer Console, and migrate integrations on the demo environment from the Apps and Keys tool to the Developer Console.
1. Add developers to the account through the admin page
Note: If your developers are already added as users in your account, you can skip to Assign developer roles.
-
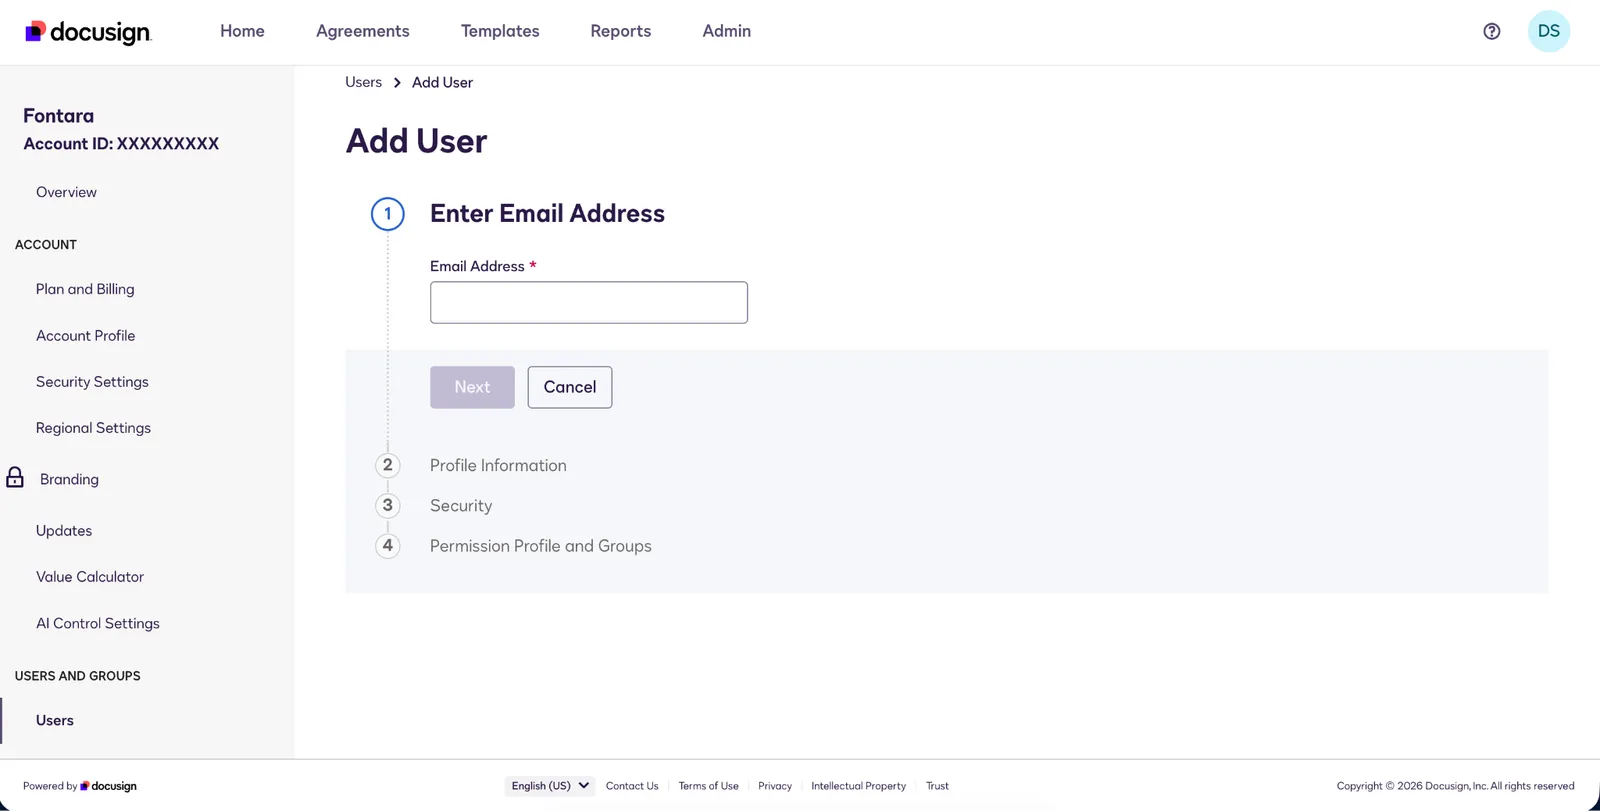
Navigate to the admin tab in your production Docusign account.
-
Select Users in the side menu.
-
Select Add User and follow the steps to add your developer team members in your account.
- Note: To give these users the least amount of privileges, select DS Viewer for the permission profile.
-
Once added, your developers will receive an email to sign up for your production account.
-
After they complete the sign-up process, they will appear in your Users list as Active.
2. Assign developer roles
-
Navigate to the admin tab in your Docusign account and select Users in the side menu.
-
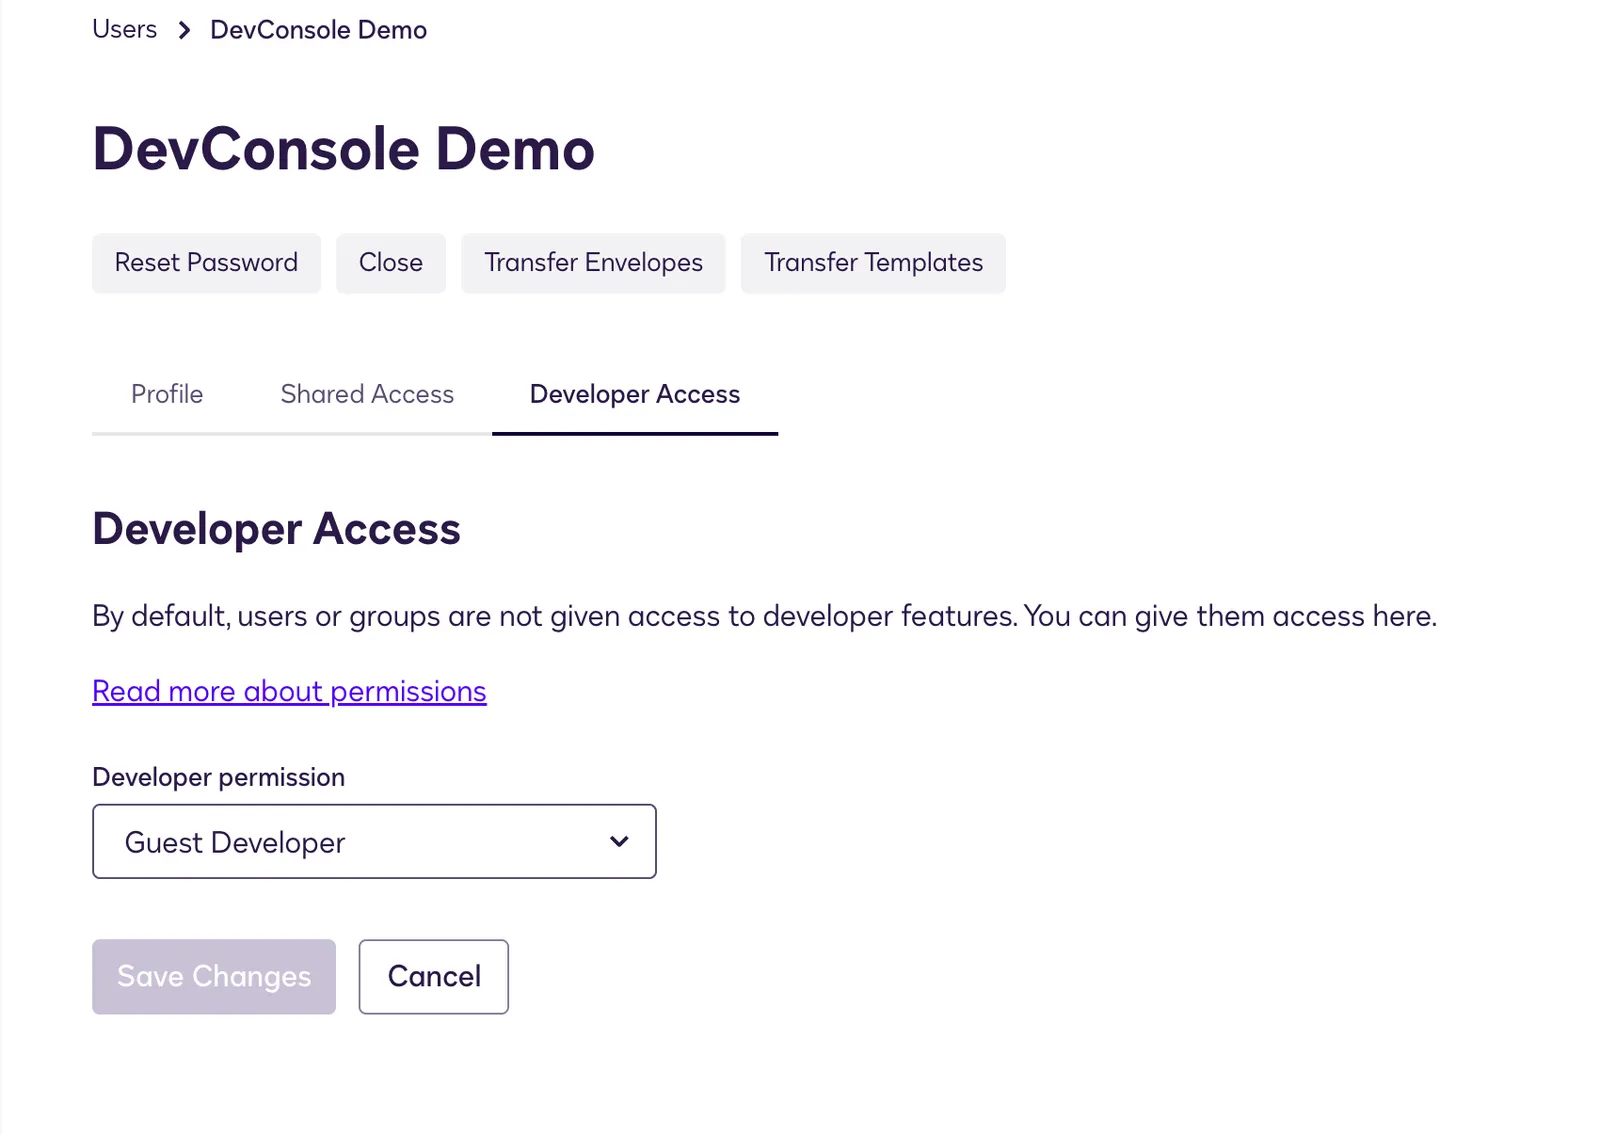
Select the developer user, select the Developer Access tab, and assign one of the following roles:
- Developer Admin → This developer will have the most permissions in the Developer Console. They might be your engineering lead or manager, who can oversee and control every integration. They can create integrations, manage all integrations in the account, take them live, and share them with Guest Developers.
- Full Developer → This is your internal developer. They can create integrations, manage all integrations in the account, and take them live. They cannot share integrations with Guest Developers.
- Guest Developer → This developer has the least amount of permissions in the Developer Console. They might be your system integrator, junior developer, or intern. They can create new integrations, but they can’t take them live unless they are explicitly granted permission to do so. They can only see the integrations they create and any integrations shared with them by the Developer Admin.
Once the roles are assigned, developers can access the Dev Console directly.
3. Share specific IKs with developers
- Log into the Dev Console as the admin.
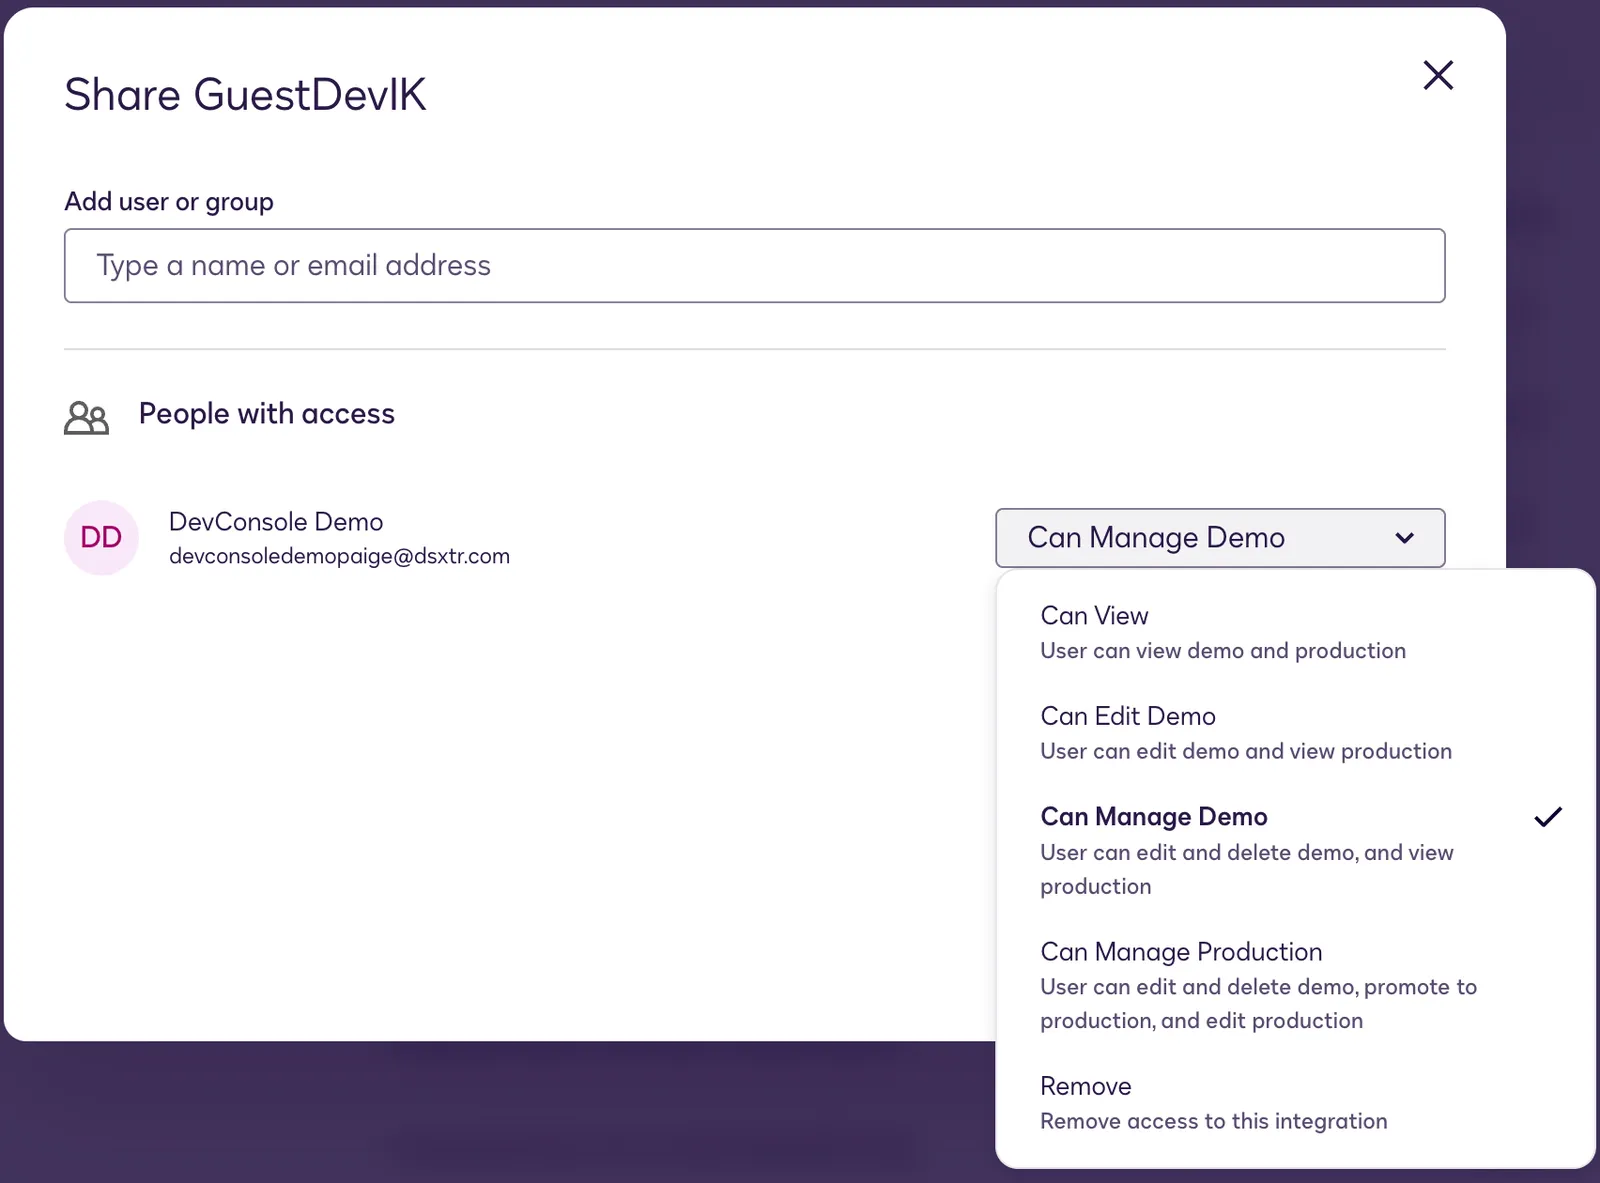
- Choose the IK you want to share with a guest developer, select the three dot menu, and select Share.
- Choose the level of permission that you’d like to assign to that developer. If you want the developer to be able to take the IK live, choose Can Manage Production.
4. Developers access the Developer Console and start building integrations
The developer can now follow the steps below to create an integration.
- Log into the Dev Console.
- Create new integration by clicking the + Add button.
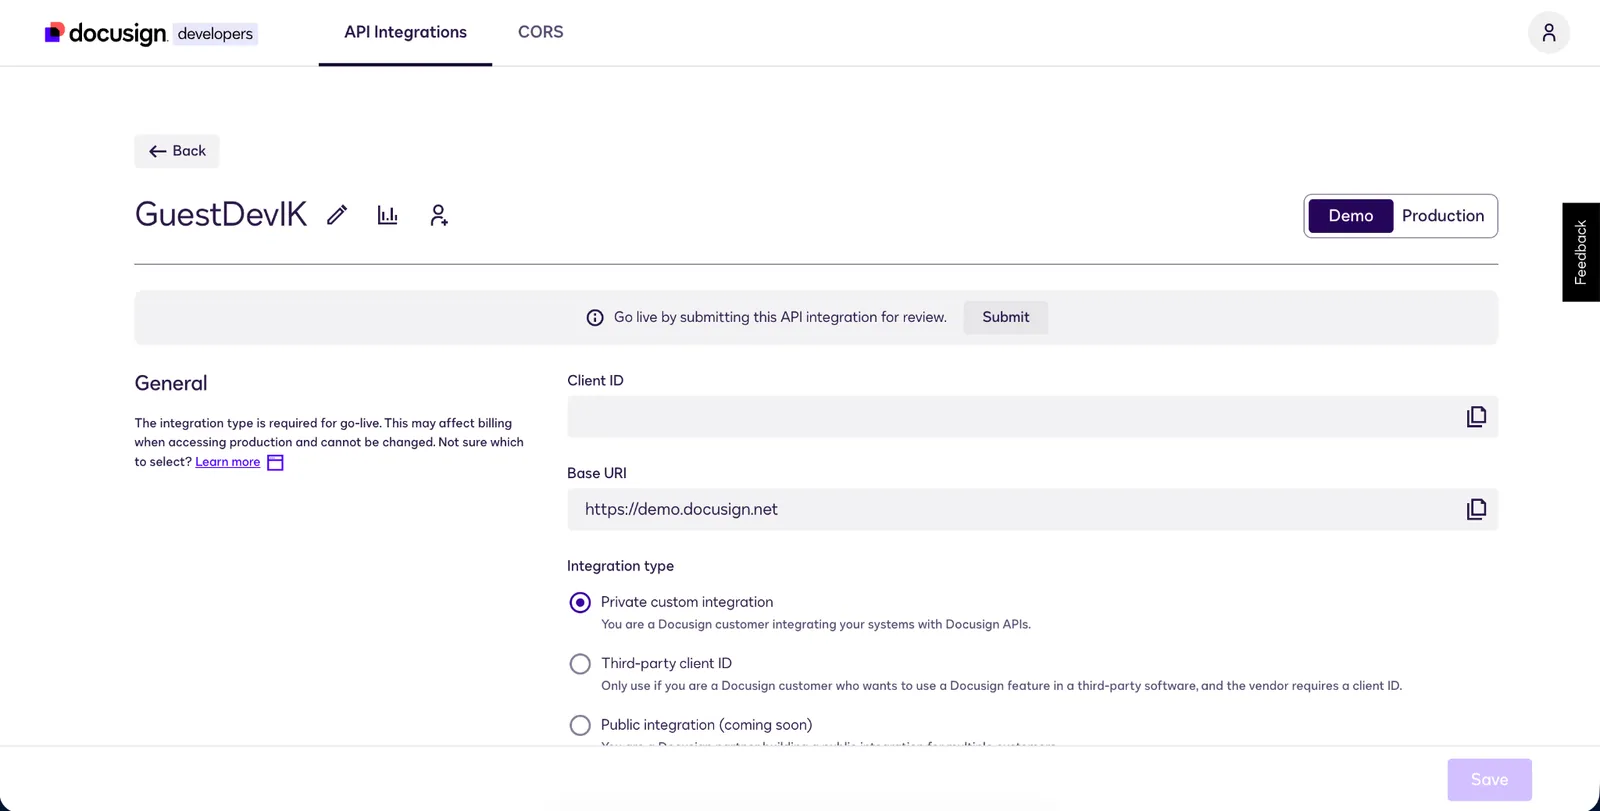
- At the top right, you will see a toggle for Demo and Production. Keep the toggle on Demo.
- Get your integration’s Demo Client ID and Secret.
- Use them to connect to Docusign’s Demo APIs and start your build/test journey.
- For testing, you can use any Docusign Developer account.
- When you’re ready to go live, select your integration type, Click Save, and then click Submit for Go-Live approval.
- Once the integration status changes to Live, switch the toggle from Demo to Production to access your production client ID and secret.
5. Migrate integrations on demo to the Developer Console
Follow this procedure to migrate integrations on the demo environment from the Apps and Keys tool to the Developer Console. After migration:
- You can manage both the demo and production versions of integrations from a single production account.
- Integrations will no longer be accessible through the demo Apps and Keys tool. Production versions will continue to be available in the production Apps and Keys tool.
Production versions of integrations are already accessible in the Developer Console. They do not require a manual migration process.
Note: You cannot migrate integrations that have not been promoted to production and exist only in a demo account.
- Log into the Dev Console.
- In the Migrate banner, select Start.
- On the login window, enter the account credentials for your demo account.
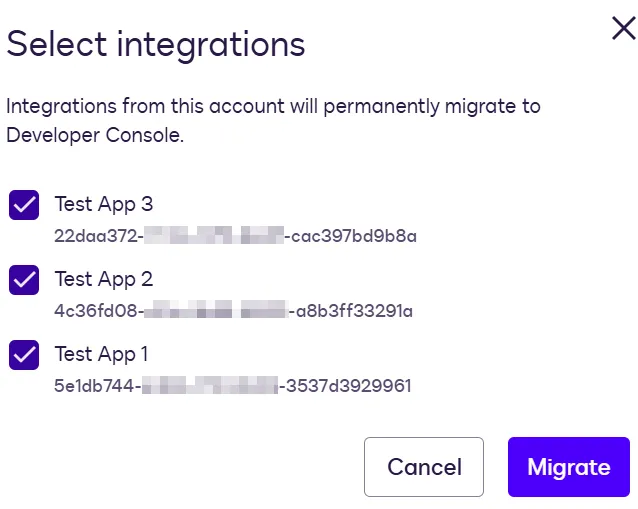
- On the Select integrations window, select the demo integrations that you want to migrate to the Developer Console, and select Migrate.
- A confirmation message lists the number of integrations that were migrated.
After migration, when editing the integration in the Developer Console, you can toggle between the demo and production versions. The demo version can no longer be accessed via the Apps and Keys tool.
Next steps
- Build with Docusign APIs and Docusign SDKs.
- Learn about Docusign concepts and objects.
- Explore our developer Use Cases.