
How to send an envelope from a Salesforce flow
This topic demonstrates how to send an envelope from a flow created with the Salesforce Flow Builder. The flow created in this example uses the Apex class defined below to send an envelope every time a new Contact object is created in Salesforce.
Prerequisites
- Install the Docusign eSignature for Salesforce managed package.
- Create a subdomain for your Salesforce organization by enabling “My Domain.”
- Select the Docusign Setup tab and complete the login step.
- In your Docusign account, define the template for the envelope that you want to send. You can create this template using the Docusign REST API or through the Docusign Apps Launcher.
Required data
Running the code in this how-to requires this data:
Step 1. Define your class
Create the class that will contain the code in this example. You can skip this step if you are adding this code to an existing class.
Step 2. Create a method that sends an envelope
Create a method that will send an envelope using dfsle.EnvelopeService.sendEnvelope. The method takes the source ID of the new contact as a parameter and uses that to get the recipient’s name and email.
The accompanying code demonstrates how to create a new envelope, add a recipient to the envelope, and create a document from a Docusign template. Make sure to replace '8dafd5dd-xxxx-xxxx-xxxx-542f35b227f7' with your template ID.
Step 3. Create an @future method
Create a method with the @future annotation that calls your createAndSendEnvelope method. The @future annotation prevents the code from failing due to Apex’s DML and callout limitations.
Step 4. Create an invocable method that sends the envelope
Create a method with the @InvocableMethod annotation that calls your @future method. The @InvocableMethod annotation allows you to call your method from a flow using dynamic inputs specified by that flow.
Step 5. Create a record-triggered flow
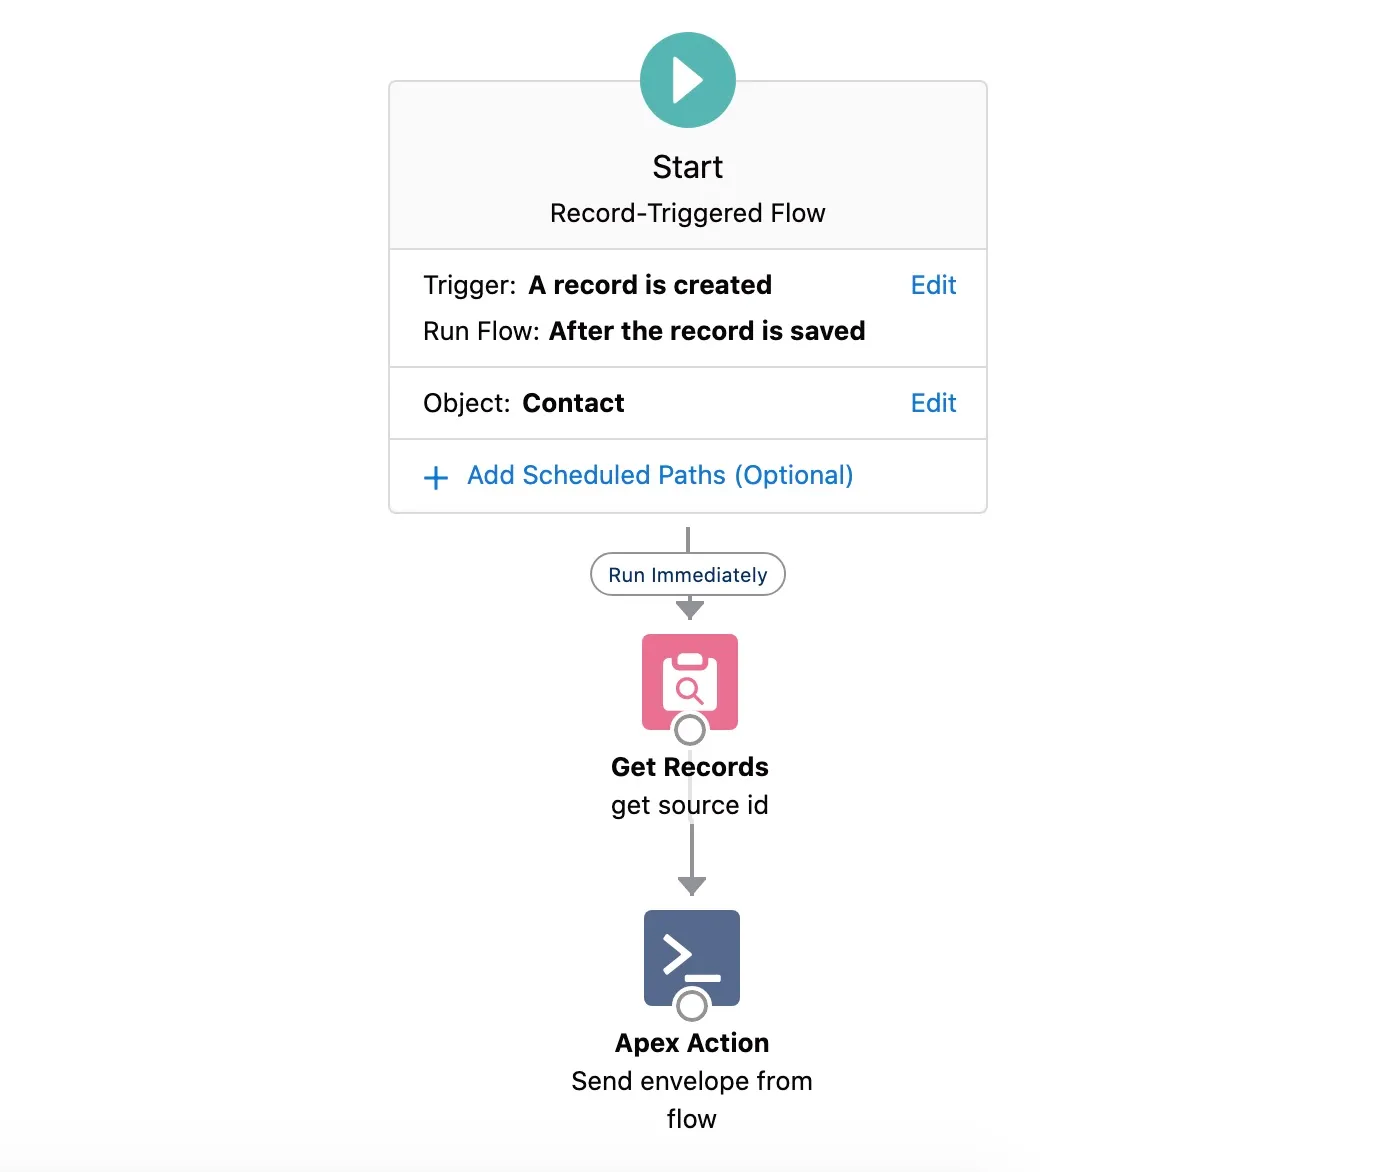
Finally, create a record-triggered flow using Salesforce’s Flow Builder. Select + Choose Object. In the Choose Object dialog, select Contact and None under Condition Requirements.
Add an Apex Action to your flow by dragging the Action element into the Flow Builder. In the Action search box, find your new Apex class and select it as your desired action. In the Label field, enter Send Envelope From Flow.
To pass the new contact’s source ID to your Apex method, drag the Get Records element from the Toolbox into the Flow Builder just above your Action element. In the Label field, enter Get Source ID. In the Object field, select Contact. Set the Condition Requirements so that the Id equals {!$Record.Id} which becomes $Record > Contact ID.
Double-click on your Apex Action element. Under Set Input Values, move the slider to the right. In the record field, select Contact from Get_Source_ID.
The accompanying image demonstrates what your flow should look like. Be sure to drag arrows between the elements as shown in the image, Save as Send Envelope to New Contact, and select the Activate button.
Step 6. Activate the flow
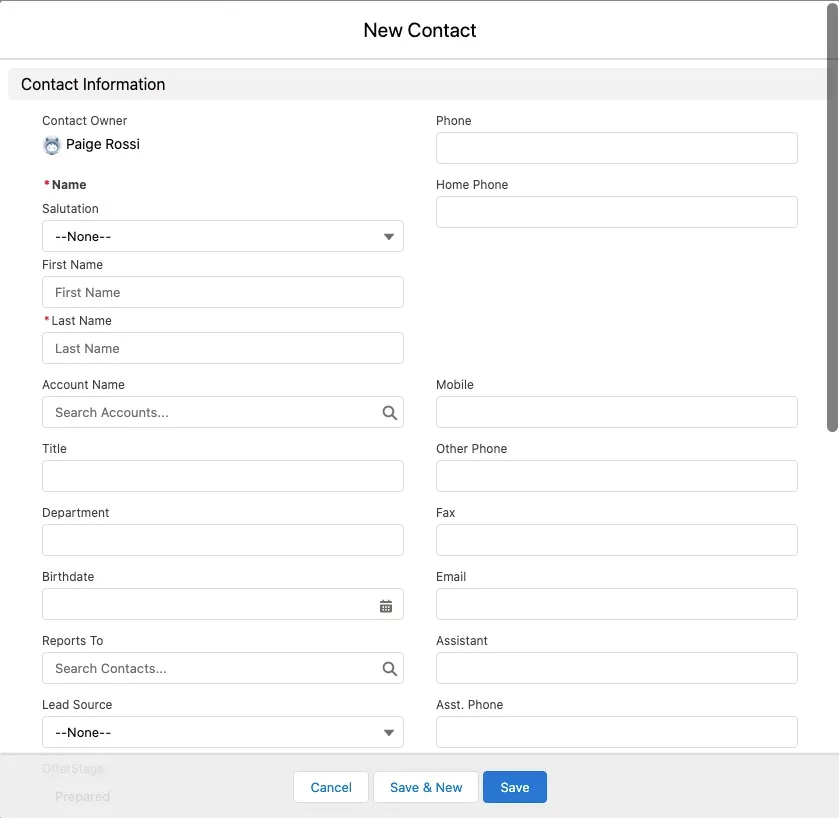
Activate your flow by creating a new contact in your org. To create a new contact, from My Domain, select the App Launcher icon in the upper left corner > Service > Contacts > New. The envelope will be sent to the email address associated with the new contact.
View the source code for this how-to on GitHub: Apex
Next steps
- See all available Apex Toolkit How-to guides.
- Learn How to send an envelope.
- See How to perform unit testing to ensure that you have adequate code coverage.