
How to update user product permission profiles using an email address
This topic demonstrates how to update user product permission profiles. There may only be one permission profile assigned to a user per product.
This endpoint can only be used by organizations that have purchased Docusign plans for both CLM and eSignature.
If the eSignature permission profile of the last eSignature admin user is updated to non-admin access, admin access will be removed from that account. Similarly, if the CLM permission profile of the last CLM admin user is updated to non-admin access, CLM access will be removed from the account.
Run this code example from our Quickstart or launcher projects: Bash, C#, Java, Node.js, PHP, PowerShell, Python, or Ruby.
Required data
Running the code in this how-to requires this data:
Step 1. Obtain your OAuth token
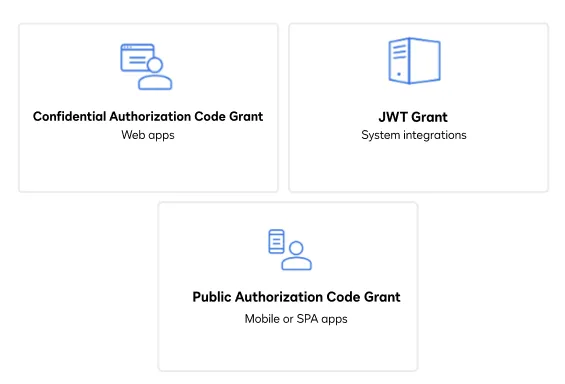
To make the API call shown in this how-to, you need a valid OAuth access token. Docusign supports access tokens for three different recommended OAuth grant types: Public Authorization Code Grant, Confidential Authorization Code Grant, and JSON Web Token (JWT) Grant. Choose the OAuth grant type appropriate for your scenario. See Confidential Authorization Code Grant for guidance on your options to get an Confidential Authorization Code Grant OAuth token.
Docusign Admin OAuth access tokens are the same ones used for our eSignature REST API, although you must request one or more Docusign Admin scopes to call the Docusign Admin API. The endpoint call made in this how-to requires that you request the Docusign Admin-specific user_write scope when obtaining your access token.
See Docusign Admin Authentication for details and the full list of Docusign Admin scopes.
Step 2. Construct your API headers
After you have a valid OAuth access token, you are ready to construct the API headers that you will pass to the API call. Construct your headers like this, but make sure to substitute your valid OAuth access token for {ACCESS_TOKEN}.
Step 3. Construct the request body
Construct your request body as shown, but make sure to substitute the email address you are interested in for {EMAIL_ADDRESS}, the desired permission profile ID for {PERMISSION_PROFILE_ID}, and the associated product ID for {PRODUCT_ID}.
Step 4. Call the Docusign Admin API
Now that you have constructed your request body, make a POST request to the MultiProductUserManagement: addUserProductPermissionProfilesByEmail method and include the request body to add a product permission profile to the specified user. Please read the warning about using this endpoint.
Here’s how you make the call, but make sure to substitute your base path for {BASE_PATH}, your API account ID for {API_ACCOUNT_ID}, and your organization ID for {ORGANIZATION_ID}.
Expected response
If you run this code example from our Quickstart or launcher projects, you should see a JSON response similar to the code shown.
Next steps
- Run this code example from our Quickstart or launcher projects: Bash, C#, Java, Node.js, PHP, PowerShell, Python, or Ruby.
- See How to create a new active user for CLM and eSignature.
- See How to delete user product permission profiles using an email address.
- See how to Go-Live with a completed app and find the base path for API calls in the production environment.