
How to trigger a Workflow Builder workflow
This topic demonstrates how to trigger a Workflow Builder workflow. This example will update participant information for a workflow and create and start a new instance of the workflow.
For a walkthrough of the process to trigger a workflow, see this video:
Prerequisites
This how-to requires a published workflow in your account. If you are running this how-to from our launcher projects, this workflow will be created for you. The workflow will include three steps:
- Set up invite
- Sign an envelope from a template with a signer and a cc recipient
- Show confirmation screen
Run this code example from our Quickstart or launcher projects: Bash, C#, Java, Node.js, PowerShell.
Required data
Running the code in this how-to requires this data:
Step 1. Obtain your OAuth token
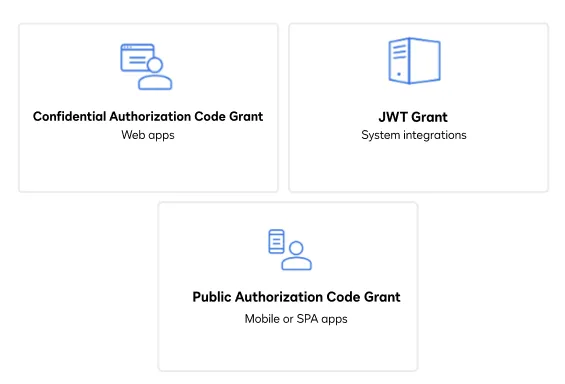
To make the API calls shown in this how-to, you need a valid OAuth access token. Docusign supports access tokens for three different recommended OAuth grant types: Public Authorization Code Grant, Confidential Authorization Code Grant, and JSON Web Token (JWT) Grant. Choose the OAuth grant type appropriate for your scenario.
See Confidential Authorization Code Grant for guidance on your options to get an Confidential Authorization Code Grant OAuth token.
Workflow Builder OAuth access tokens are the same ones used for our eSignature REST API, although you must request the signature scope and one or more Workflow Builder scopes to call the Workflow Builder API. The endpoint calls made in this how-to require that you request the Workflow Builder-specific aow_manage scope when obtaining your access token.
See Workflow Builder Authentication for details and the full list of Workflow Builder scopes.
Step 2. Construct your API headers
After you have a valid OAuth access token, you are ready to construct the API headers that you will pass to the API call. Construct your headers like this, but make sure to substitute your valid OAuth access token for {ACCESS_TOKEN}.
Step 3. Retrieve the triggerURL
Make a Workflows:getWorkflowTriggerRequirements request to retrieve the desired workflow definition and extract the url property from the response.
Here’s how you make the call, but make sure to substitute your API account ID for {API_ACCOUNT_ID}, and the desired workflow ID for {WORKFLOW_ID}.
Step 4. Construct the request body
Construct the trigger_inputs_object to include values for the variables defined in the workflow.
Step 5. Call the Workflow Builder API
Now that you have constructed your API headers and request body, make a POST request using the url property obtained in Step 3 to trigger a new instance of the workflow. The url property will also include two query parameters: mtid and mtsec. These values are generated by the Workflow Builder service when the workflow is published and are used to authenticate the request and identify a valid workflow.
View the source code for this how-to on GitHub: Bash, C#, Java, Node.js, or PowerShell.
Expected response
If you run this code example from our Quickstart or launcher projects, you should see a JSON response similar to the code shown. You will also receive an email at the address supplied in Step 4 to complete the workflow.
Step 6. (Optional) Embed the instance in an iframe
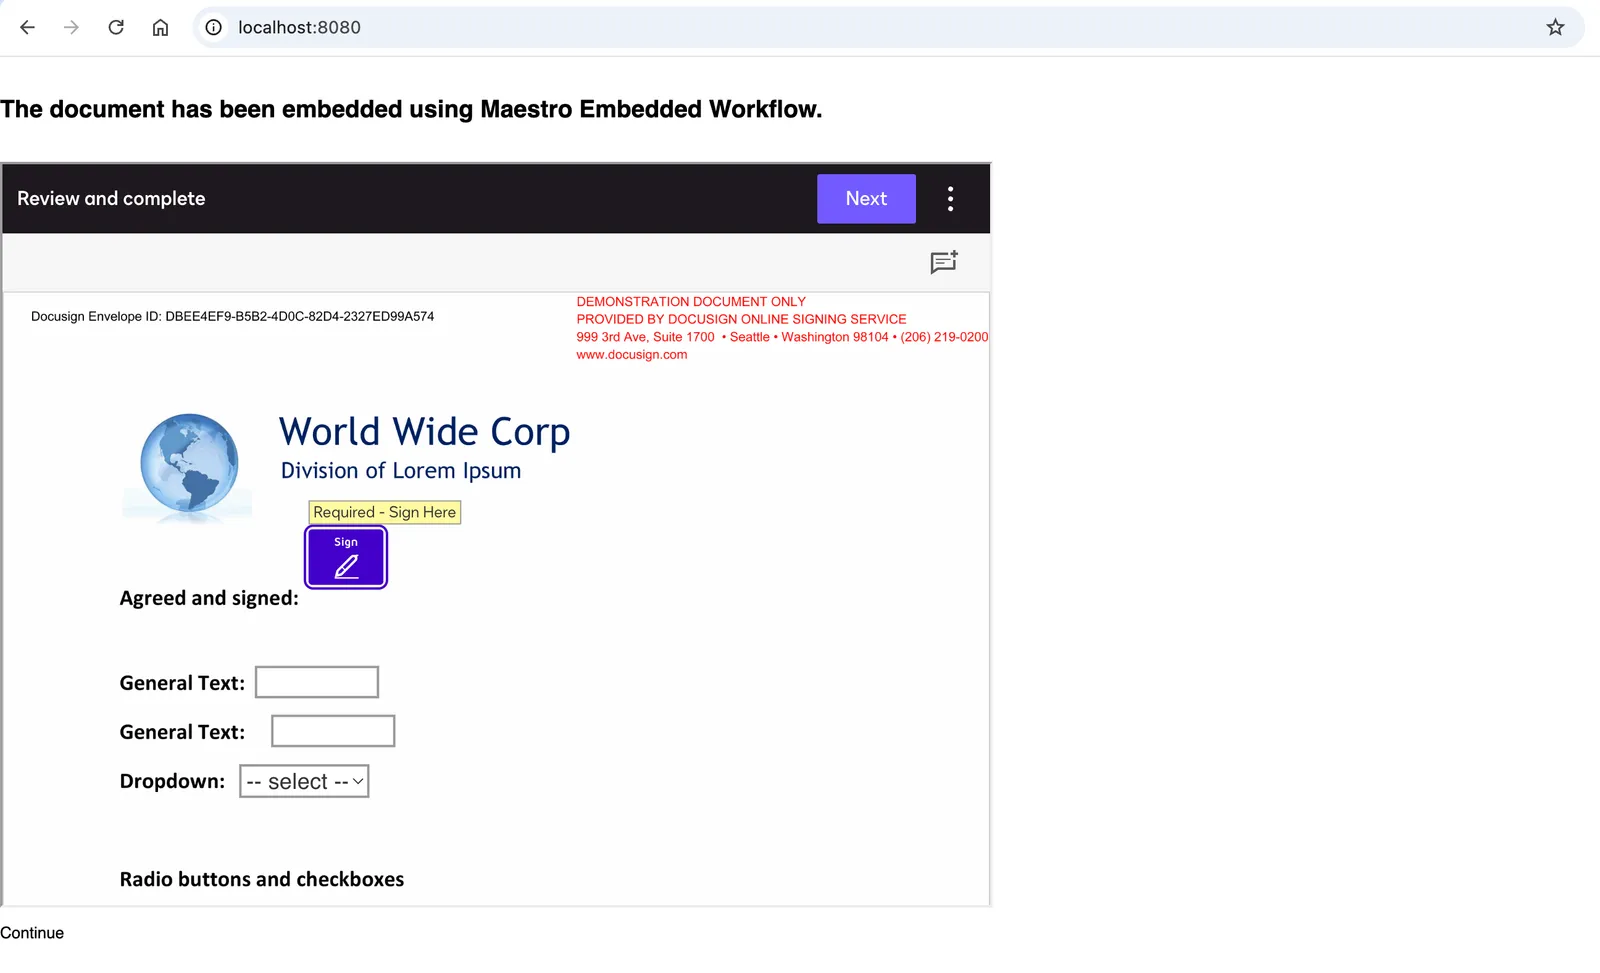
To present the workflow to your users, embed the instanceUrl in an iframe in your application. This can be done in any front-end environment that supports HTML. This iframe provides a complete browser-based workflow experience for your end users.
Expected response
If the workflow was triggered and embedded correctly, your application should display the Workflow Builder workflow in an iframe. The embedded experience will load the first step of the workflow and allow the user to begin interacting with it directly in the browser.
Next steps
- Run this code example from our Quickstart or launcher projects: Bash, C#, Java, Node.js, PowerShell.
- Learn more about Workflows.
- See how to Go-Live with a completed app and find the base path for API calls in the production environment.
- Workflow start methods.